How to: Planting your Herb Garden

2013-04-28 15.01.39 If you haven’t already noticed I love using fresh herbs in my cooking.  The flavor is unbeatable and takes your home made dishes to a whole new level.  With summer around the corner fresh flavors are what we are all craving.  Why not spice up your meals with a sprinkle of chives, basil, thyme or mint?  This is my first installment of what will hopefully turn out to be a fruitful series on home grown herbs.  How to grow, harvest, and use these potent plants to enhance your cooking and way of thinking.  Keep in mind this is based on my experiences, I am by no means a botanist or herbalist.

2013-08-11 14.25.34

If you are buying herbs from the store you know how quickly they expire and how expensive this becomes over time.  Growing your own herbs is a great way to keep an endless supply at your disposal.  We don’t have much outside space, but I utilize every bit that is there to grow a small selection of my favorite herbs.  If you don’t have outdoor space to let your herbs grow, try
growing indoors along a window where you get a fair amount of sunlight.

2013-04-29 11.53.41
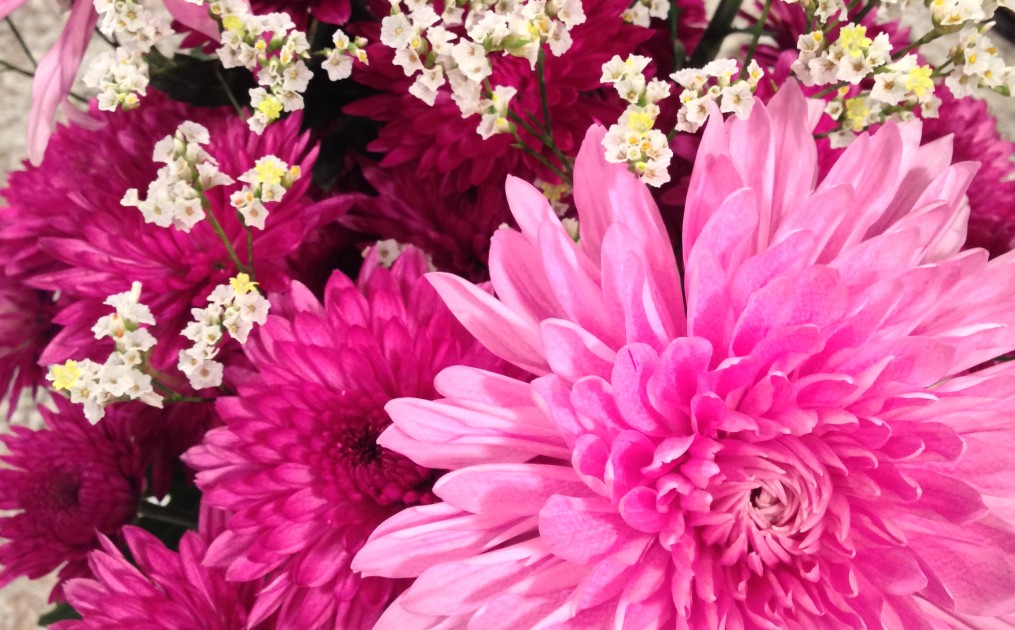
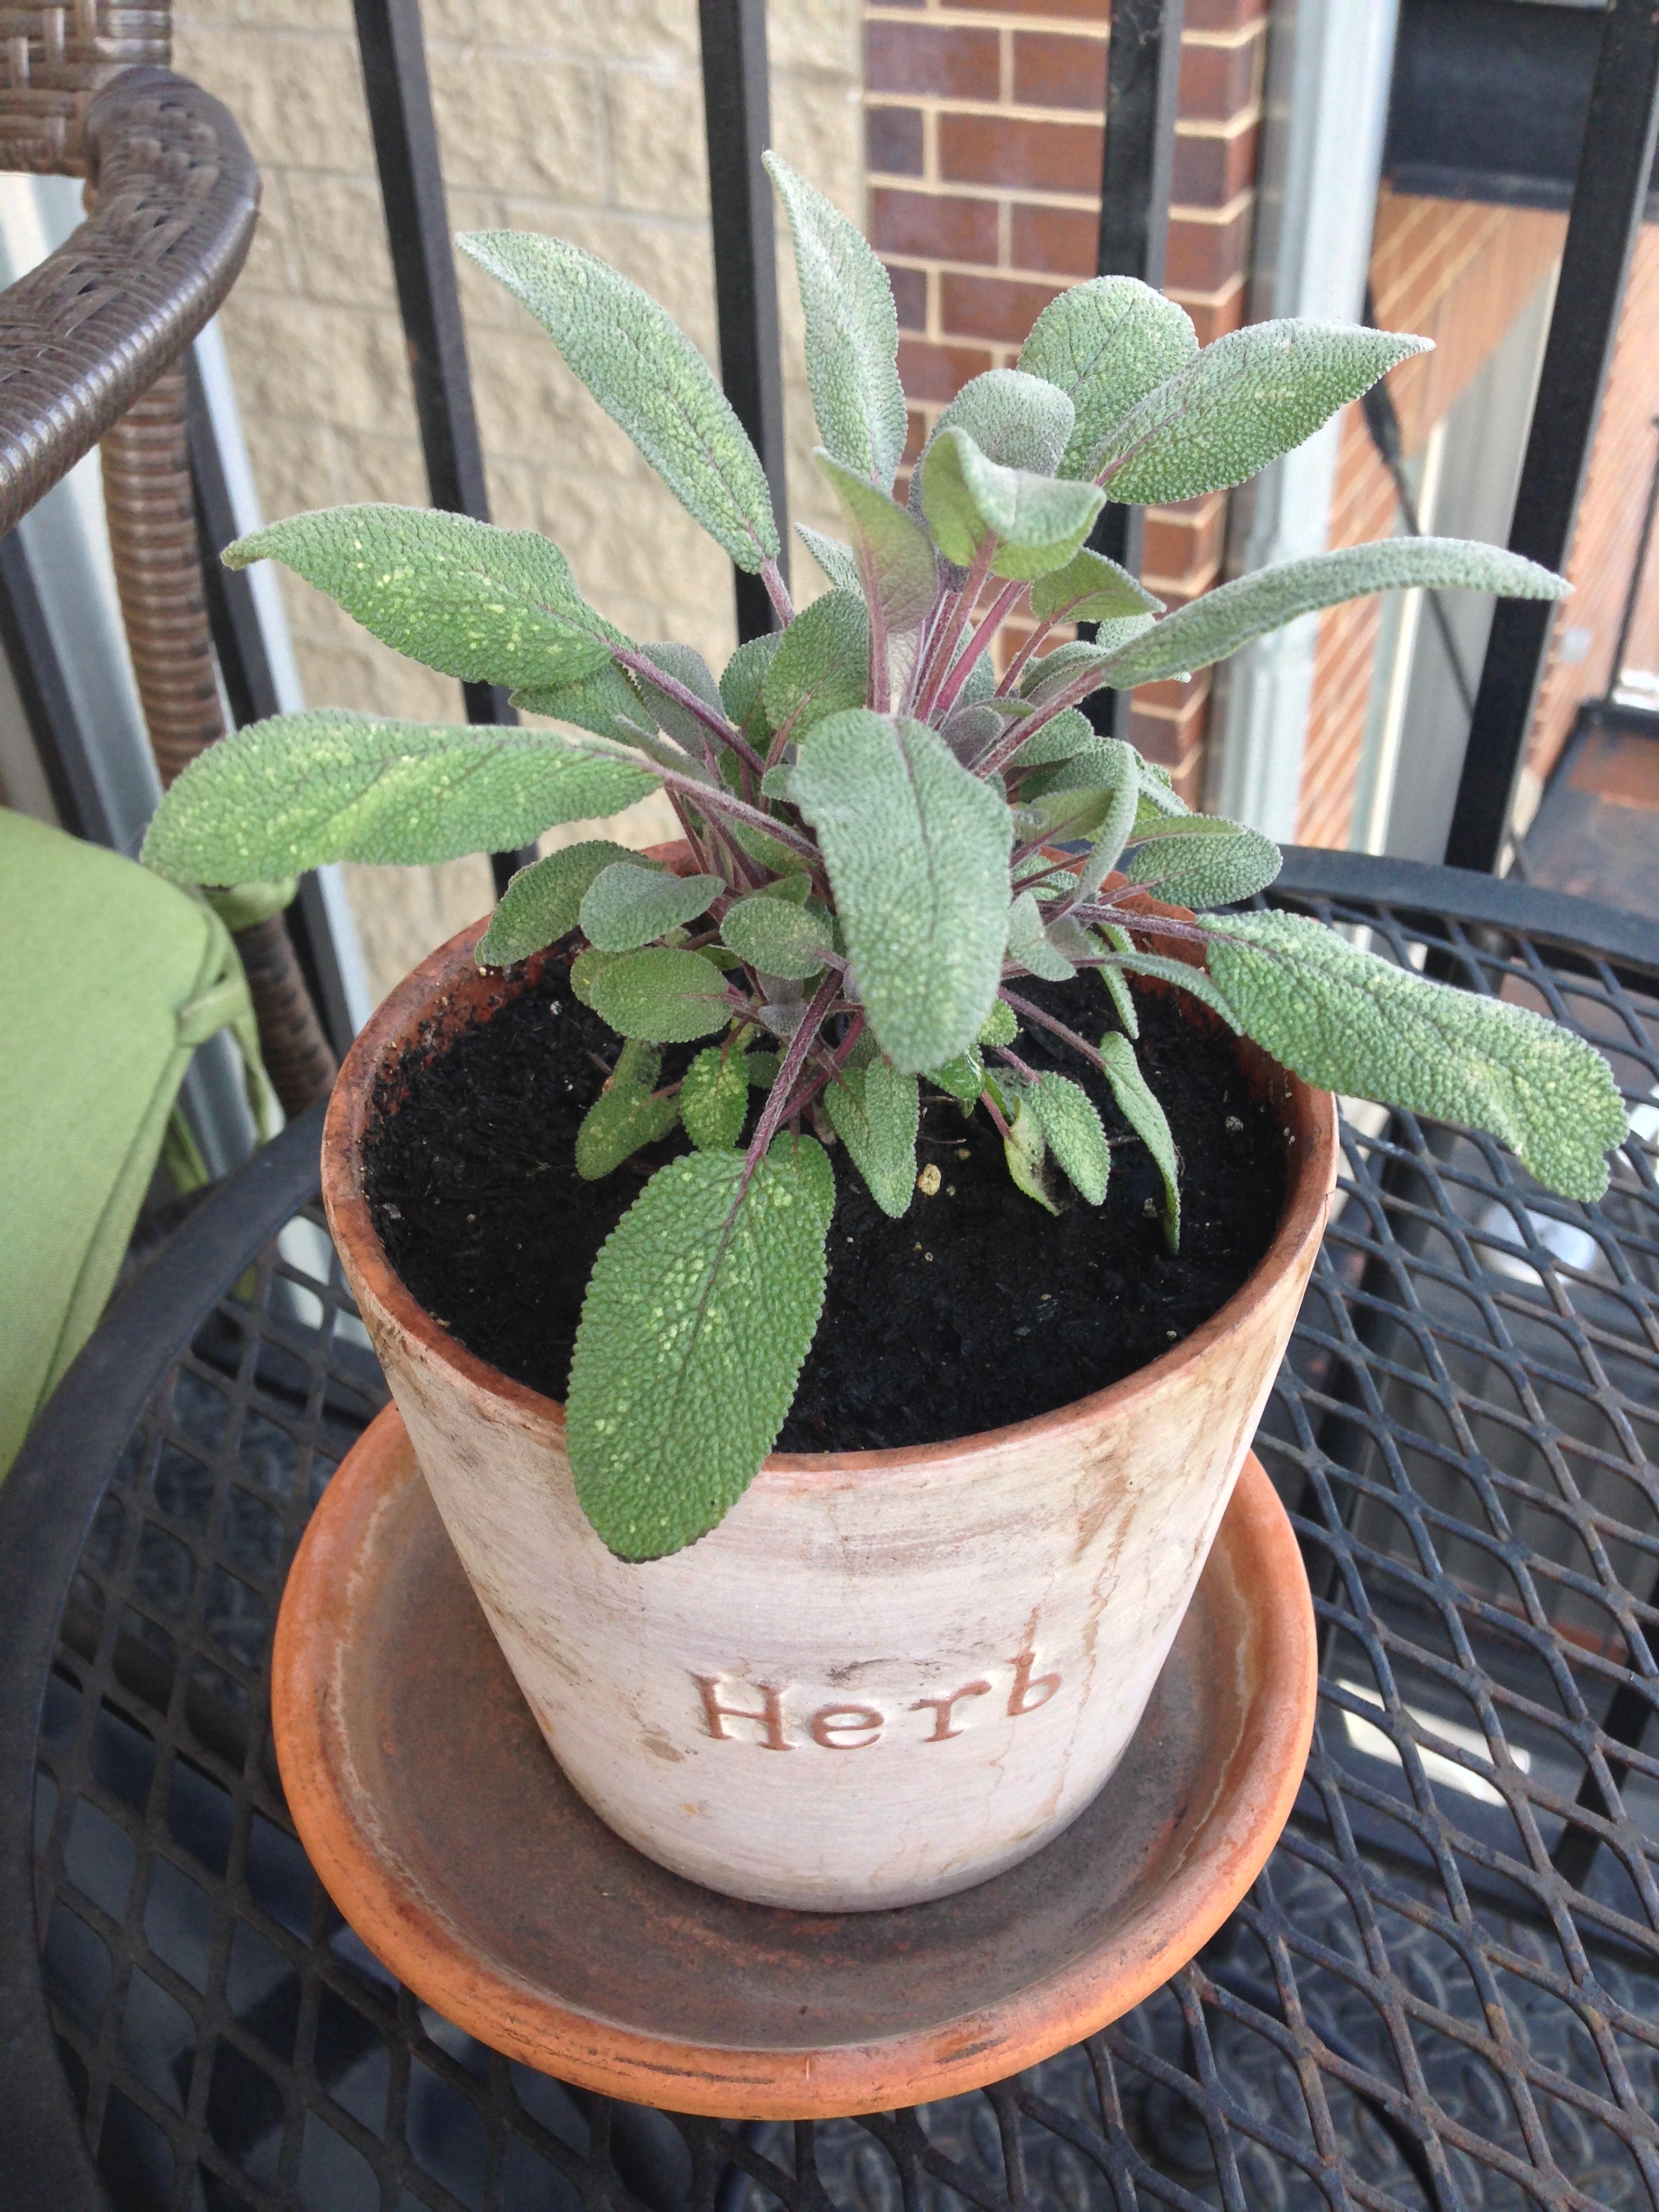
A few shots of our balcony herbs last year.


I have to grow my herbs in pots as our outdoor space is a metal balcony, 4 stories off the ground.  When I think about it this is actually an ideal arrangement (or at least that is what I tell myself) for several reasons.  First, I can easily move my herbs indoors when the weather gets cold to maintain and use for the winter.  Second, most herbs are actually weeds and spread like wildfire.  When they are contained in a pot, you can keep control of growth.  Last but not least, I can move the pots around to redesign our outdoor space easily.

What to do and know:

Once you decide on the herbs you want and get your starter plants home, you need to pick out a good pot.  Beyond basic aesthetics you want to have a pot that has a hole in the bottom to allow excess water to drain.  If the water can’t drain from the pot you run the risk of the roots being too wet and molding = yellow dying plant.  Keeping a plate under the pot will keep it from making a mess when you water.  I use a few different styles of pots, but always go back to the trusty and cheap clay pots pictured below.  Make sure the pot is big enough as well, you want the roots to have room to grow as your plant grows.  I try to pick a pot that will be about as large as the plant itself when it is full grown.  Bigger is better.

2014-05-25 19.00.06

Prepare your pot by putting a few rocks on the bottom to assist with water drainage and to keep the soil from falling through that nice hole in the bottom.

2014-05-25 19.00.26

Now for the soil.  I use a standard potting soil that comes with fertilizer that claims to feed the plants for up to 9 months.  This is where people get creative.  I have heard of mixing in egg shells into the soil, peat moss, news paper, vegetable peelings, coffee grounds, the list goes on and on.  I can see the merit in this, but to be honest I’m not that intense.

Fill your pot 3/4 of the way full with soil, take your starter plant out of the tray and make a little hole large enough for the bulb.  A little trick I learned is to breakup or unwind the roots after you pull it out of the tray.  The idea here is that the roots in the tray are typically wrapping around in a circular motion that if not broken from this growth pattern can eventually strangle the plant as the roots continue to grow in this direction.  You want the roots to spread out into the new space you are providing, so loosen them up to let that happen.

2014-05-25 19.11.17

With your new plant in the pot, fill in any spaces left with soil making sure to leave a little space between the top of the soil line and the top of the pot.  You will appreciate this extra space when you water.  Gently pat the soil down, be careful not to pack to hard.

Now you want to water, water, water your new plant to let it settle and start to grow!

A few basic tips on providing the best care to your little baby plants:

1.You have to water them pretty much daily (I water first thing in the morning).  The reason is that these pots are of a confined space so there is only so much soil and so much saturation.  Growing plants need a lot of water to not only survive, but thrive.  You don’t have to worry about over watering, as the excess water will run out the bottom.  Keep in mind these pots will get hot in the sun and water in the soil will readily evaporate further depleting your roots from water.  On hot days, you will want to consider watering twice a day.  I know, needy little suckers.

2. Fertilize your plants with some sort of supplement, I use miracle grow powder that I add to the water every two weeks.  You want to keep the soil nutrient rich to give your plants what they need to stay healthy.  Yellowing leaves or loss of vibrant color is typically a sign that you need to fertilize.

3. Use your herbs!  When you cut your herbs back for use they come back two fold with new growth and you keep maturation at bay so the plant doesn’t go to seed.  With most herbs, there is a right and wrong way to harvest them…we will cover this further as the herb series continues.

What am I growing so far this summer you may ask, well let me tell you:

-Chives
-Basil
-Mint
-Lemon Balm
-Rosemary
-Thyme
-Lemon Thyme
-Curly Parsley
-Sage

The summer is just starting and I’m sure I’ll find a few more plants I want to have around, like tarragon and oregano…if only I can find the space!  Let me know what you have growing!

Enjoy!

Dijon and Chive Grilled Chicken

2014-05-25 20.07.26

While I was home this past weekend at my parent’s house my mom supplied me with some very delicious fresh herbs.  And when I say some, I mean a seriously hefty amount.  I am going to start up an herb series to help everyone get their own herb garden started and give you ideas of what to do when you are faced with a large amount of fresh cut herb goodness.  Herbs are such an easy way to add flavor and spice to your food without the calories or fear of processed chemicals.  Before I get the series started I wanted to share this amazing chicken recipe.

2014-05-25 19.20.02

In a traditional glaze, which I typically use with a ham, I combine some sort of sugar (brown sugar, regular sugar, honey, agave, etc) with a mustard (honey mustard, yellow mustard, brown mustard, dijon mustard, you get the point), and maybe a splash of citrus (lemon juice, pineapple juice, orange juice, etc).  Today I wanted to use my abundance of chives, so I combined agave and dijon mustard with a small handful of fresh cut chives.  The result was fantastic.  It turned our grilled chicken into a flavorful and juicy treat.  I drizzled the extra glaze over the finished product, you can thicken it with some mayo or greek yogurt if you want a creamy gravy for on top.

The key to a sugary glaze is to hold off on adding it to the meat until the last few minutes of cooking.  The sugars will get activated and can burn if you put it on too soon.  When added at the end and given a few minutes to adhere to the meat, you will get the full benefit of the glaze and you will also seal in moisture!

Ingredients:

2-4 boneless skinless chicken breasts
3-4 Tbsp of agave (or sugar of choice)
1-2 Tbsp of dijon mustard (or mustard of choice)
1-2 Tbsp of fresh cut chives
salt and pepper to taste

Directions:

1. Season chicken breasts with salt and pepper.  If you want to cut back on cooking time and increase glaze coverage, either butterfly the breasts or beat with meat hammer.

2014-05-25 19.40.15

2. Mix together agave, mustard, and chives in a small bowl.  Adjust proportions to taste preferences.

2014-05-25 19.34.23

3. Grill chicken on a hot grill (around 400-450 degrees).  In the few minutes before the chicken is fully cooked glaze on all sides and finish cooking until center reaches 165 degrees.

2014-05-25 20.01.38

4. Drizzle with extra glaze if desired.

This goes really well over a salad or with a side of grilled vegetables for a complete healthy meal.  Don’t forget you can eat the flower of the chives as well.  Just remove the center stem and sprinkle over your salad or chicken for a little extra chive flavor!

Enjoy and Eat Well!

Vitamix Skills: Coleslaw

Since purchasing my Vitamix blender I find that I am always searching for ways use it that are out of the ordinary.  When my friend told me about chopping cabbage in the Vitamix I thought it was an urban legend.  How could the Vitamix roughly chop, doesn’t it just pulverize?  It has been months since I have had the blender and for as much as I love coleslaw I haven’t yet tried to shred cabbage. Tonight was the night to experiment.

2014-05-15 19.43.42

It took me several rounds to figure out exactly how to make this work, but I think I finally found the best setup for a restaurant quality chop.  It’s not that cabbage is hard to chop, but it is time consuming and it’s so tempting to buy the bag of shredded mix.  Save yourself the money and add some freshness to your life by shredding yourself.

Step 1:

Take a small wedge or two of cabbage and place in Vitamix.  Fill with water to the point that the wedge floats just above the blades.

2014-05-15 19.38.53

Step 2:

Turn the blender on and increase to level 4 quickly, let run for under 10 seconds.

Step 3:

Pour into mesh strainer to separate from water.

2014-05-15 19.42.08

Blend in batches for desired amount.  Don’t forget to check out side dishes for my summer coleslaw recipe: https://seasonsforcooking.com/2013/09/01/summer-bbq-coleslaw/

Summer Turkey Burgers

2014-05-04 20.15.26

Summer is almost here, which means grilling season is upon us.  There is something so magical about coming home from work and smelling the unmistakable fragrance of a hot grill.  Burgers are a classic and easy dinner option that can be put together and grilled in a pinch.  Turkey burgers are not as popular of a choice when grilling as traditional beef patty burgers, the main reason being the fat content.  As much as we don’t want to admit it, the fat content in a good beef burger is where all the extra juicy goodness comes from.  To get past this minor flaw, I brushed the outside of my burgers with avocado oil before grilling to instill some healthy fat into the patty and seal in some moisture.  I chose avocado oil because of its high smoke temperature, indicating to me that it would likely hold up to the heat on the grill well.  This did the trick, the patties turned out both flavorful and juicy.  My other idea was to incorporate some coconut oil into the patty itself, I haven’t tried this yet but imagine it would have a nice result.

The turkey burgers also tend to need a little extra kick in the flavor department.  The green onions and fresh thyme made for a nice flavor profile to these healthy burgers.  As my herb garden grows, I look forward to trying different flavor combinations in the patties.  For serving I chose a bed of lettuce and grilled vegetables, delicious and very healthy.

2014-05-04 19.03.30

Ingredients:

1 pound of lean ground turkey
1 heaping Tbsp of fresh thyme, center stem removed
2 green onions sliced, yellow and white pieces
1/4 tsp red pepper flakes
1/2 tsp of garlic powder
salt and pepper to taste
avocado oil for brushing

Directions:


1. Mix ingredients together all except for avocado oil.

2. Separate into patties of your desired size and mold into thin disks.

2014-05-04 19.10.12

3. Brush outside with avocado oil and grill on hot grill (400-425 degrees) for 10-15 minutes depending on the thickness of the patties.   Internal temperature should be 165 degrees for eating.

2014-05-04 20.14.38

Enjoy and Eat Well!

Asian Pulled Chicken and Pork with Homemade Hoisin Sauce

2014-04-26 20.09.14This pulled pork and chicken recipe came into existence starting with a recipe  I found online at the site http://www.justataste.com.  I thought it looked amazing and simple to make.  My only problem with the recipe is using a store bought hoisin sauce.  I searched for a way to make a homemade hoisin sauce to avoid any unknown or unnecessary ingredients.  With a little time I found a really easy looking recipe from Gwyneth Paltrwo that totally fit the bill.  This recipe however required red miso paste, which I have never used or even seen for sale at the grocery store before.  This then took me on a trip to the Asian Supermarket, aka, the coolest market ever.  Since this experience I have made several Asian inspired meals that I have never before attempted.  I’m looking forward to experimenting with ramen noodles more in the future.

This is my spin on the initial recipe, in my opinion a little healthier and more flavorful.  I served it the first time over rice with asparagus as pictured.  The next time I tried it both over salad greens and as a slider with coleslaw (check out summer coleslaw recipe in sides section).  All options were really great, I would even like to try the meat in a soft shell taco with coleslaw and fresh cilantro.  The hoisin sauce recipe is a little spiced up as well with red chili paste (another ingredient courtesy of the Asian supermarket).  The hoisin sauce recipe makes an entire cup, so the leftovers can be used in a stir fry or used as a barbecue sauce for ribs, chicken, pork, shrimp, etc.  Use the sauce up within one week, stored in the refrigerator in an airtight container.

Ingredients:

Hoisin Sauce Ingredients:

1 Tbsp oil (I used avocado oil, but anything will do)
1 large clove of garlic, minced
1/2 tsp Chinese five-spice powder
1/2 cup red miso paste (I don’t know what this is exactly, I found a soybean paste and used that, but it was brown colored)
1 tsp red chili paste (I added this for a little heat)
1/2 cup maple syrup
2 Tbsp brown rice vinegar (I used regular rice vinegar)

Pulled Chicken and Pork Ingredients:

3-4 pounds of meat (I used a combo of 1/2 boneless skinless chicken breasts and pork tenderloin)
5 slices of thick cut bacon
1/2 cup honey (I used a raw honey), heaping
1/2 cup of soy sauce (low sodium), heaping
1/3 cup blackberry jam
1/3 cup hoisin sauce
3 cloves of garlic, minced
1 cup onion, diced
1/4 cup red pepper flakes
1 Serrano pepper, sliced thin (any hot pepper will do if you want to add more heat)
1 Tbsp corn starch
sesame seeds, green onions, or chives to garnish.

Directions:

1. Start by making the hoisin sauce first.  Heat oil in a small sauce pan over medium heat, add minced garlic and Chinese five-spice and cook until fragrant less than one minute.

2014-04-26 15.00.17

2. Whisk in remaining hoisin sauce ingredients and cook for a few minutes until the sauce thickens and is heated through.

3. This will make 1 cup of hoisin sauce, so you will have some remaining.

4. Leave a Tbsp of hoisin sauce in the pan and return heat to medium.  Add bacon and cook through.

2014-04-26 15.08.50

5. Add onion and garlic, cooking for a few minutes until onions are soft and garlic is fragrant.

6. Add honey, soy sauce, hoisin sauce, blackberry jam, red pepper flakes, and Serrano pepper.  Whisk to dissolve and heat through.

2014-04-26 15.20.42

7. In large crock pot line bottom with chicken and pork, pour heated mixture over top and cook on low for 4 to 5 hours.

2014-04-26 15.28.28

8. When fully cooked, remove chicken and pork to shred with two forks.

2014-04-26 19.54.53

9. Thicken juices remaining in slow cooker with cornstarch as directed on cornstarch packaging.  Return shredded meat to slow cooker and stir to combine.  Continue to cook on low for 30 minutes before serving.

2014-04-26 20.05.51

10. Garnish with seeds, green onions, or chives served over a green salad, rice, or served on a bun with coleslaw.