Fresh Almond Milk

2014-01-25 09.16.33

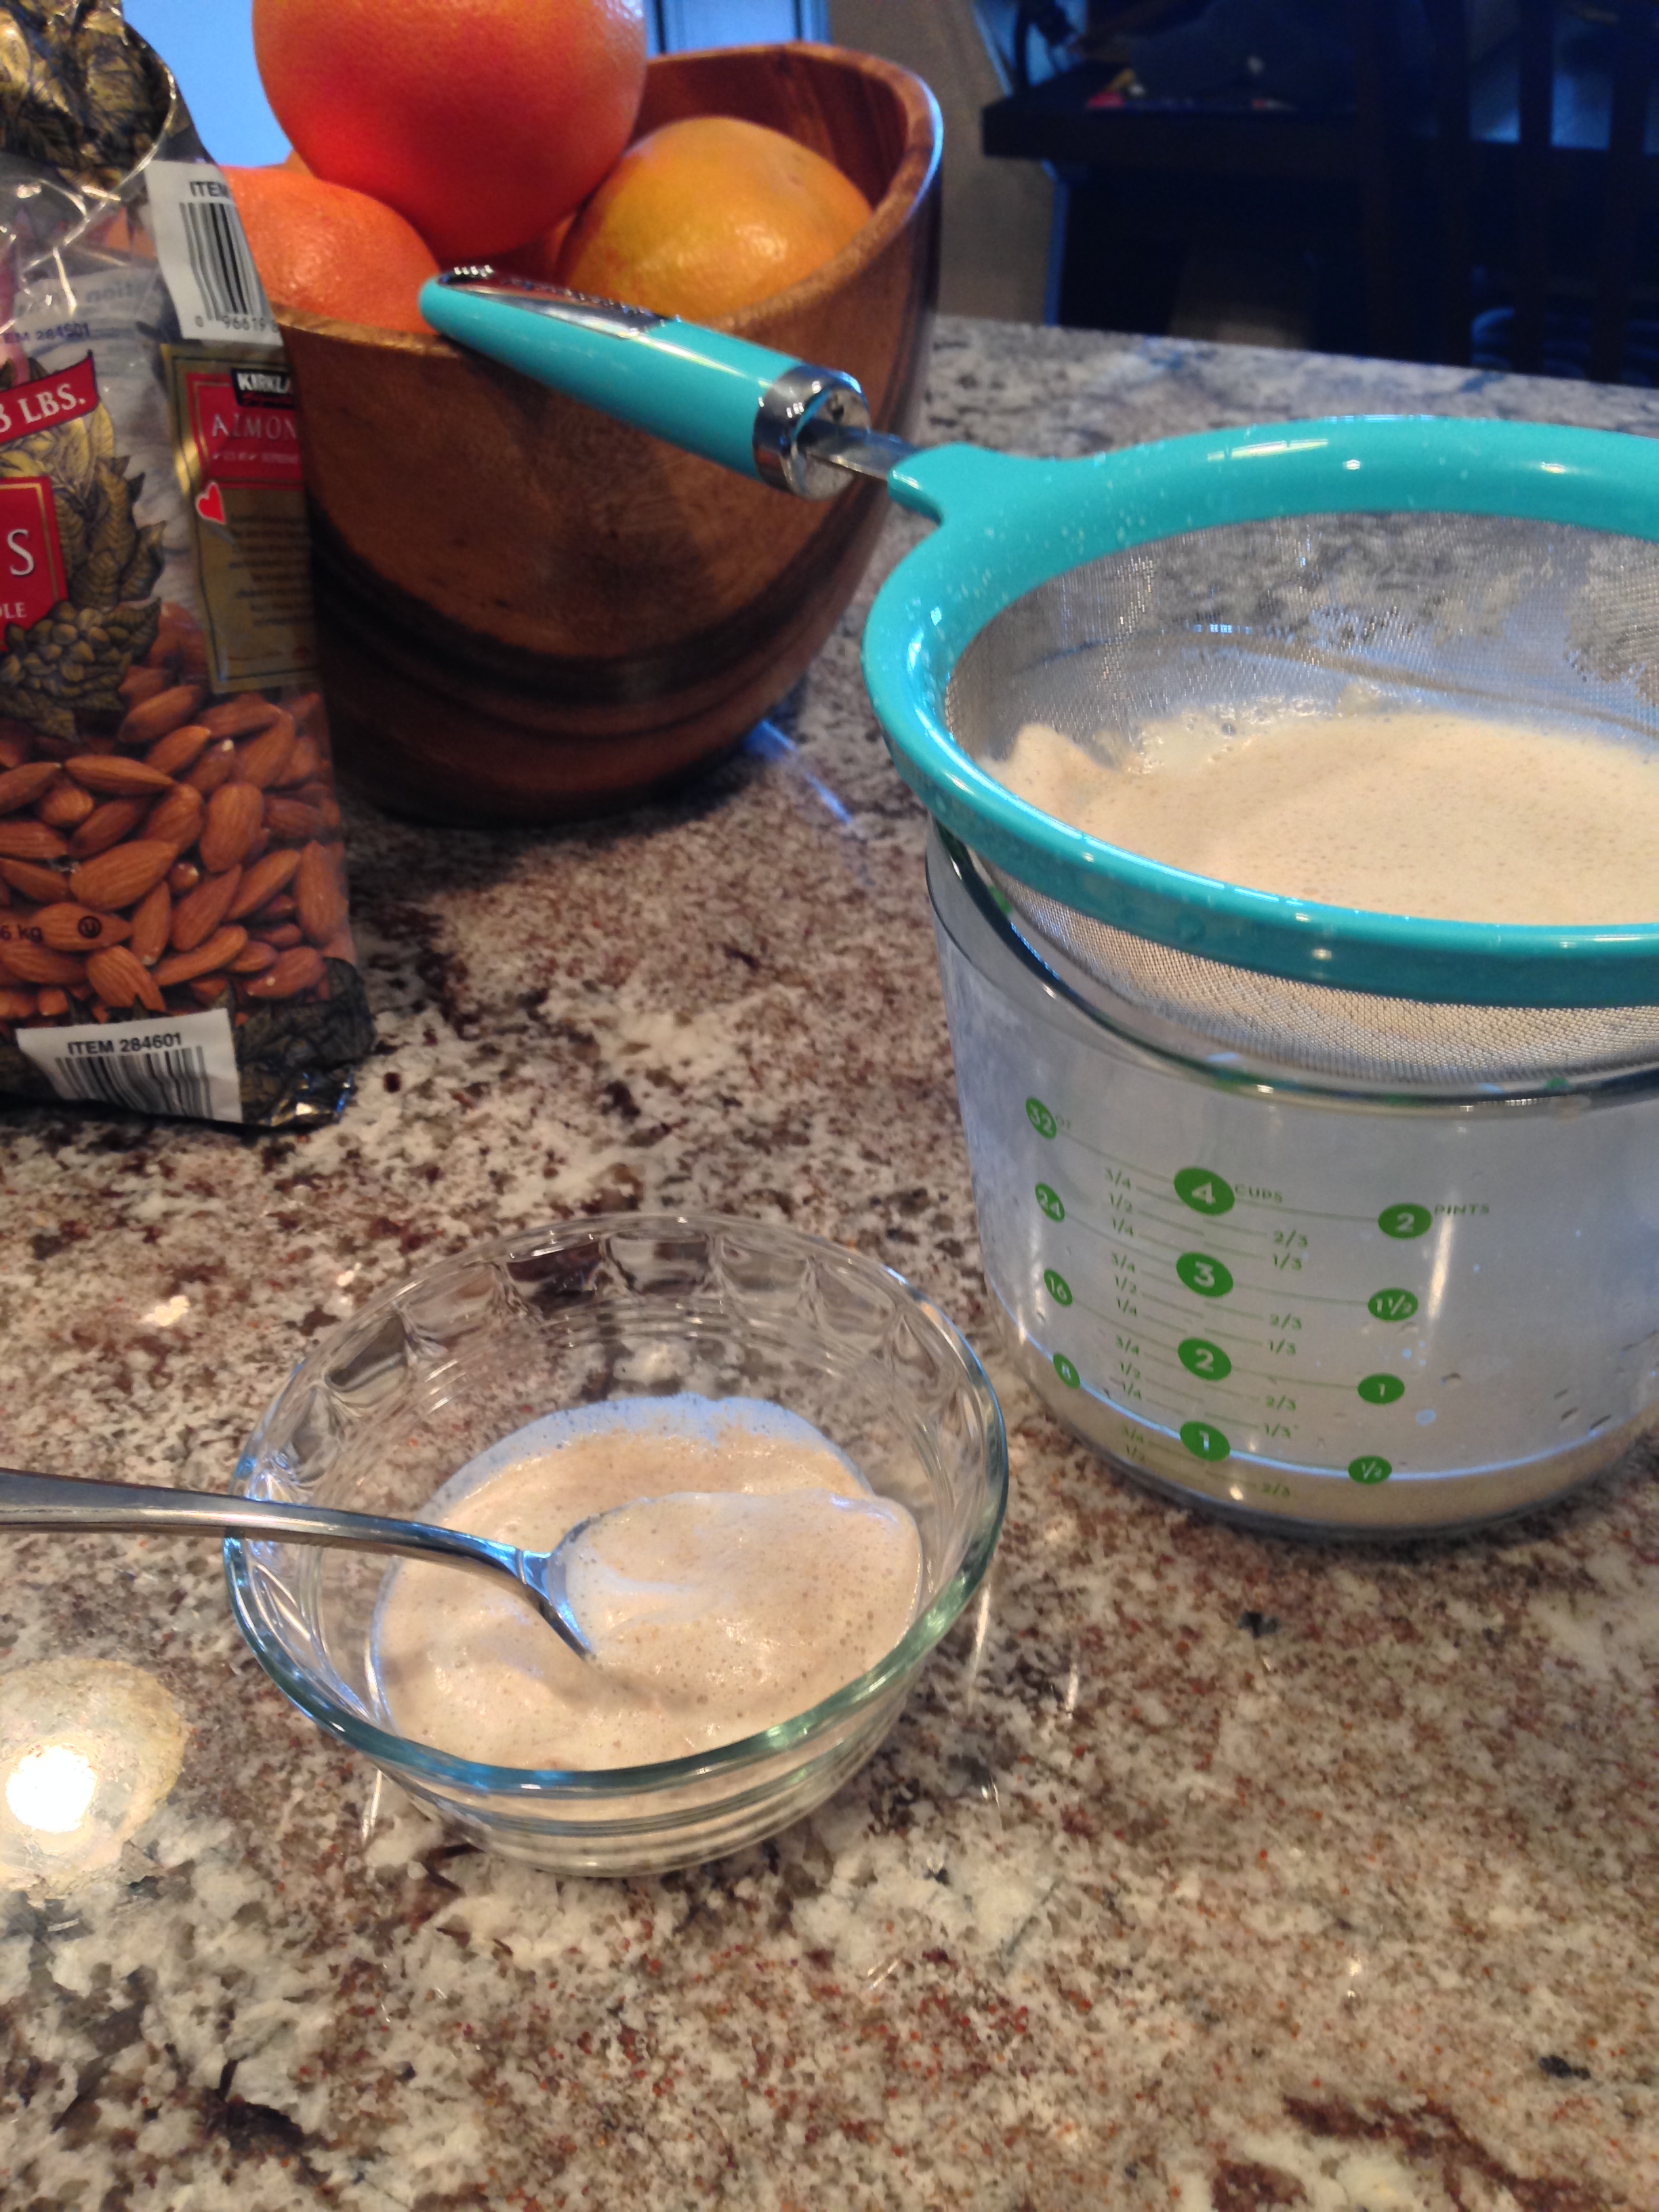
Project Adventures in Vitamix is well underway.  This morning I made fresh almond milk to use in coffee for the weekend, so easy and way better for you than the processed store bought stuff.  Usually I don’t go through the trouble of straining the almond milk after it’s out of the Vitamix, but today I decided to use my new fine mesh strainer to see what the big difference would be.  I have to say, there is a big difference between the strained and unstrained product.  The unstrained milk has a very nutty quality and naturally a thickness to it that stands out in coffee or when drank alone.  The strained product is a lot softer in flavor, mixes into coffee well and…for lack of a better descriptor…is milky tasting.  The vitamix really pulverizes the almonds, what you are straining out is the very fine shell and meat of the nut that has escaped the 2 horsepower blades.  This will make just over 3 cups of milk and about a half a cup of froth.  The best part is that the frothy goodness left over in the strainer is a perfect nutty base for a smoothie.  Talk about starting the weekend out strong!

Ingredients:

1 cup of raw almonds
3 cups of water
1 tsp of agave (or sweetener of choice)

Directions:

1. Add all ingredients to your Vitamix (or other high power blender) and increase speed to high, run for 2 minutes.

2014-01-25 08.55.16  >>> blending>>> 2014-01-25 08.56.09

2. Slowly pour mixture through a fine mesh strainer or cheesecloth, using a spoon to remove the froth as you strain.  Use the milk immediately or store in an airtight container in the refrigerator.  I’m not sure about the storage life, but I try to use the milk up in about 2 days.

2014-01-25 09.02.53

I like to add a very small amount of sweetener to my almond milk since I’m using it in my coffee, but you do not have to.  If you are going to use the milk for baking or another cooking project, just skip the sweetener.  You may want to substitute for a little salt if you are planning to use it in a soup or savory meal.

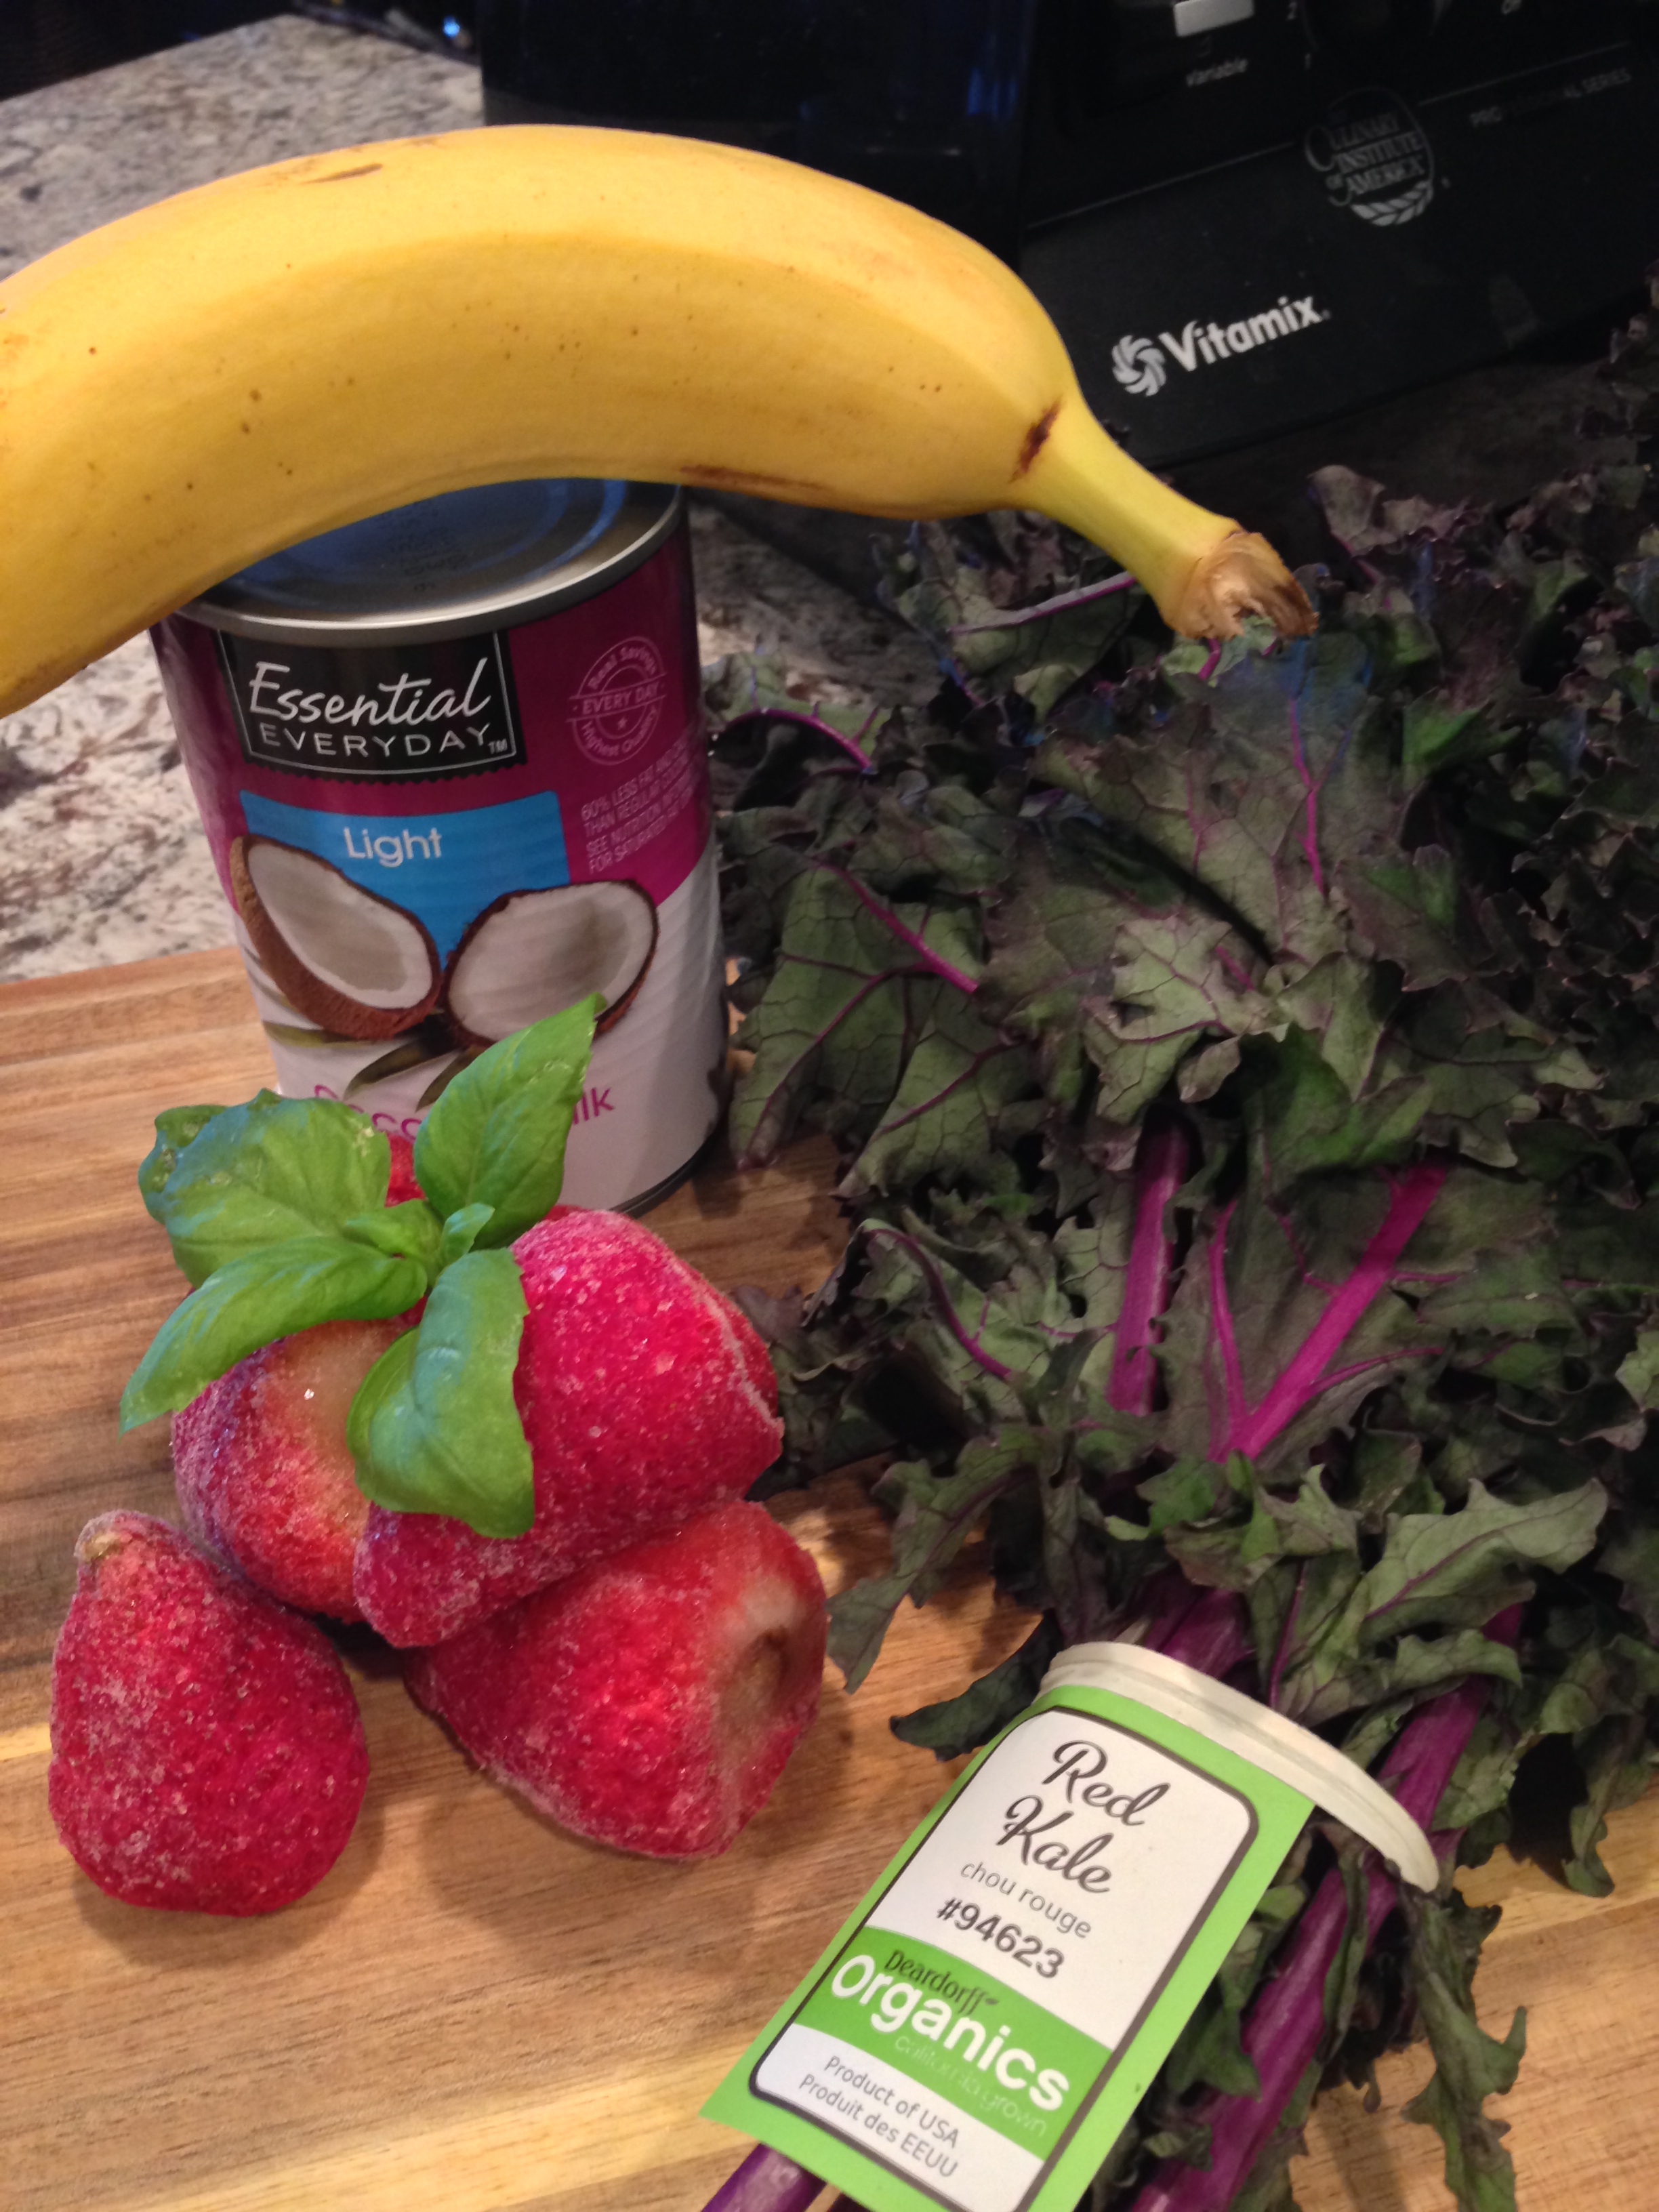
I had a lot of frothy goodness left after straining the milk, and of course didn’t want to let it go to waste.  I put the froth right back into the Vitamix and added a frozen banana, 3/4 cup of frozen strawberries, large handful of kale, and 1 cup of water.  Blend on high for 45 seconds, makes 2 smoothies.  AMAZING!

2014-01-25 09.26.57
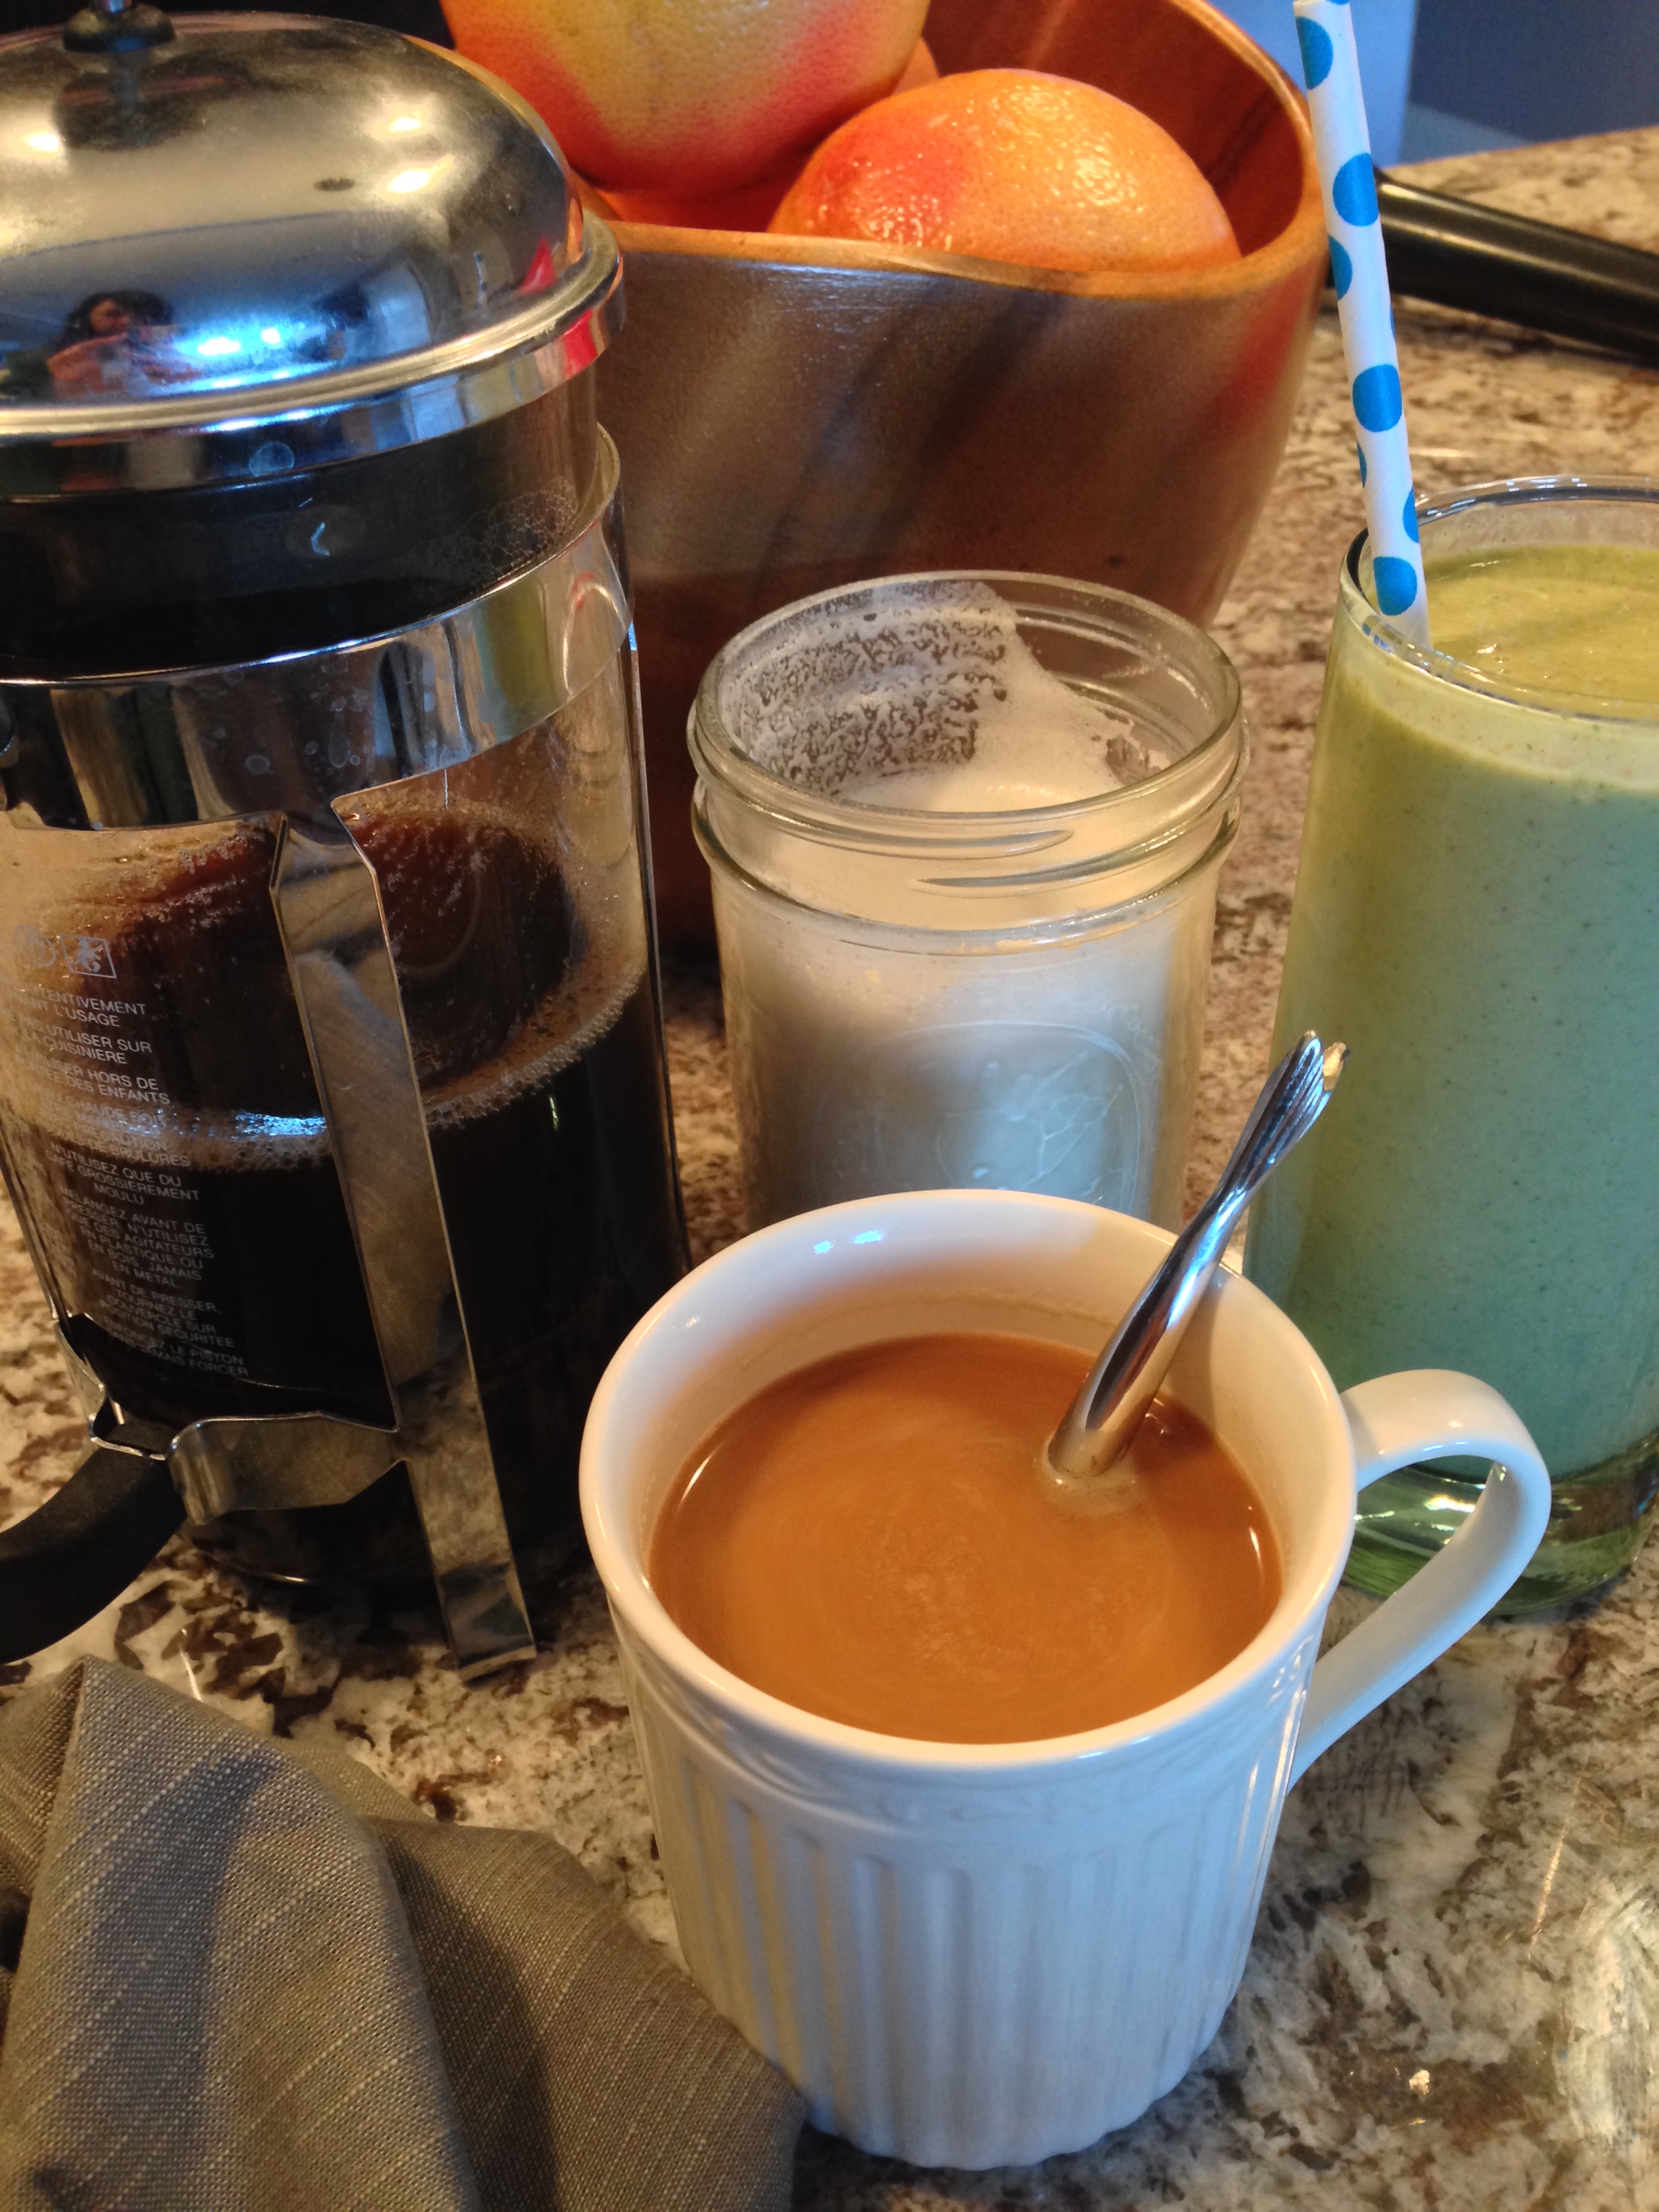
(Breakfast of Champions)

Enjoy and Stay Healthy!

Mini Nutty Brie Pockets

I’m sure I have said this before, but I’m not a sugar and sweets kind of girl.  That being said, every once in a while it just has to be done.  These little pockets are filled with fig and nutty sweetness and a hint of salt from brie melted in the middle.   I made these pockets with nuts, dried fruits, and minimal butter/sugar to add a little nutritional value.  You can swap out for different nuts, fruits, even spread to whatever you may have on hand.  I would love to make them again with apricot, honey, and walnuts!  The pockets can be made any size you would like; personally, I don’t like cutting into a big gooey wheel leaving the cheese to spill all over, so I made these mini (3 bites) size to avoid such troubles.

2014-01-19 14.16.37They turned out even better than I expected and were easy to prepare in the morning before guests arrived.  I made them up until the point of baking, then put them in the fridge until 30 minutes before I was ready to bake, serving immediately.  You could make them as far as a day in advance before baking, just be sure to keep in the fridge overnight.  This only makes 8 pockets, which was not enough for our group, you may want to double it!

Ingredients:

3 oz of double cream brie cheese
1 pre-made Pillsbury pie crust
2 Tbsp brown sugar
1/4 cup of diced figs
1/4 cup of craisins
1/3 cup of chopped pecans
1 Tbsp butter
Fig spread/jam (I prefer with seeds)
1 egg
1 Tbsp large grain sugar

Directions:

1. In a small sauce pan add chopped nuts, brown sugar, figs, craisins, and butter.  Stir well and cook on medium heat until butter is melted and figs/craisins are soft, about 5 minutes.  Remove from heat.

2014-01-19 09.19.40

2. Roll out the pie crusts to be slightly thinner than packaged and even, cut into 3×3 inch squares.

3. In the center of each square place a small piece of brie (rind intact), put a small spoon of fig spread on top of cheese, and a large spoon of the nut and fig mix on top.

2014-01-19 09.30.16

4. I didn’t take a picture of this, but bring the four corners up over the cheese pile and press together. Seal the folds by pinching as able and put on baking sheet seam side up.  They don’t have to look perfect, it’s almost better that way.

5. Scramble the egg and brush on top of all of the brie pies, sprinkle with large grain sugar lightly.

6. Bake at 350 until golden brown on top, about 20 minutes.

Enjoy!


White Wine Braised Lamb Chops


2014-01-12 19.38.22Winter weather cooking is all about comfort foods that are full of flavor and warmth.  Lately I have been playing around with braising cheap cuts of meat.  The flavors are incredible, the meat is insanely tender, and braising is really very easy to do.  Technically braising is just searing then slow cooking a cut of meat that has a tough quality or connective tissue that needs broken down.  Adding wine, beer, or tomatoes with broth then covering to finish cooking for a long period of time completes the braising process.  Of course time is a factor and planning in advance will only help enhance the flavors, try this for a fancy weekend meal.  For tonights braising I got the lamb chops at Paulina Meat Market and decided to go with a white wine and beef broth cooking liquid, fresh herbs, and vegetables to enhance the lamb.

I chose lamb shoulder chops that are blade cut, the least expensive cut of lamb in stock at the market.  I decided to keep the flavors soft using leeks instead of onions with the white wine.  Starting on Saturday I rubbed the lamb down giving it a day to soak in, I definitely recommend this with this recipe.  Thyme goes so nicely with dry white wine and I happen to have a lot growing right now, so I used that primarily with a little fresh rosemary and parsley to round out the flavors.  You can use other herbs that you have fresh or dried (use a little less if using dried herbs as they are more potent) sage or oregano would be lovely as well.

Ingredients: 

Rub:
2 tsp of garlic powder
2 tsp of pepper
2 tsp of salt
2 tsp fresh thyme, minced and heaping
2 tsp fresh rosemary, minced
1 tsp fresh parsley, minced

2014-01-11 14.44.00

2 8oz cuts of lamb with bone in and marbled with fat/connective tissue
4 carrots, diced
3 stalks of celery, diced
1 Leek, halved and sliced
1/2 fennel bulb, sliced
4 cloves of garlic, pressed
1/2 Tbsp butter
1/2 tsp of ground pepper
4 sprigs of thyme, center stem removed
2 bay leaves
1 cup of white wine
1 cup of beef broth

Directions:

1. At least one hour in advance (up to 12 hours in advance) mix together rub ingredients and pat onto lamb chops, refrigerate until 30 minutes before browning.
2014-01-11 14.56.25
2. Choose a large heavy pan with an oven-safe lid to make the meal in.  Heat on medium-high, coat with olive oil and brown lamb chops 5 minutes on each side.  Remove from pan and set aside.

2014-01-12 16.20.07
3. Lower heat to medium-low, add a pad of butter to pan and saute carrots, celery, fennel, garlic, thyme, and bay leaves.  Saute for 8-10 minutes before adding white wine, beef broth, and chops to pan.  The liquid should come about 2/3 of the way up the side of the meat, I added a little more wine and broth after taking this picture below.  Bring to a boil.

2014-01-12 16.37.31
4. Once boiling, cover pan and place in oven at 285 degrees for 3 hours.

2014-01-12 19.27.46In the end the meat is literally falling off the bone and that tough connective tissue has melted into a soft smooth consistency.  The smell is incredible and the taste is so flavorful, words cannot do justice.

To serve this I boiled some cauliflower until very tender, mixed it in the kitchenaid standing mixer with butter, roasted garlic, salt, pepper, and a little milk.  It made a rice-like consistency that was a perfect bed for the lamb and vegetables.  You can also use rice or mashed potatoes, but I wanted to make this paleo friendly.  Fresh green beans for a side and you have yourself a restaurant quality meal at home.

Enjoy and Stay Healthy!

Simple Breakfast Salad

2014-01-11 11.26.30

On days that I want a substantial breakfast without the carbs, a breakfast salad is my go-to.  It’s easy, delicious, and filling without making you feel guilty.  For this breakfast salad there is of course a side of bacon to go with it.  I used romaine lettuce, but you can use any greens you may have available.  Add as many vegetables as you would like, this is a simple starter salad to get you going.  Instead of a fat filled dressing, the roasted red peppers, lemon juice, and egg yolks combine beautifully in the bowl to do the trick.  This makes 2 salads.

Ingredients:

8 slices of thick cut bacon
1 head of romaine lettuce, chopped
1/4 cup of red onions, diced
4 slices of roasted red peppers, diced
1 clove minced garlic
1/2 avocado, diced
4 eggs
fresh cilantro and lemon wedge for garnish

Directions: 

1. Cook bacon in the oven on a cookie sheet at 350 degrees for about 20 minutes.  It will take less time if sliced thin.
2. In a heavy skillet take a small amount of the bacon grease from the pan to saute onions and garlic for a few minutes.

2014-01-11 11.13.51
3. In your serving bowl combine lettuce, diced red peppers and a few grinds of fresh black pepper.
4. When bacon is crispy cut 2-4 slices into small pieces and add to salad with cooked red onions.
2014-01-11 11.21.35
5. Cook eggs sunny-side up in skillet over medium-low heat with bacon grease to keep from sticking.
6. Top salad with avocado, eggs, cilantro, and a squirt of lemon.  Breaking yolks to mix with the salad is the best dressing!

Enjoy and Stay Healthy!

Coconut, Strawberry and Basil Smoothie

2014-01-04 09.31.21

Today I was looking for a creamy smoothie with a different flavor profile from the norm.  I have a basil plant that is holding on for dear life by the front window, begging for sunlight in the middle of winter and unfortunately too close to the window to stay warm on these sub-zero days.  With the 5-6 living leaves that remain I wanted to make something to recall the days of summer when fresh herbs are robust.

To add creamy smoothness the combination of banana and coconut milk (from a can) are pretty great.  The coconut milk gives more thickness to the smoothie than almond milk or regular milk, and the coconut flavor in the finished product is perfect.  Of course this was blended in the Vitamix for optimal consistency.

2014-01-04 09.08.53

Ingredients:

1 Ripe Banana
1 cup of Red or Green Kale
5-6 large frozen Strawberries
5 small Fresh Basil Leaves
1/3 cup of lite Coconut Milk, canned.

2014-01-04 09.11.07

Directions:

Add ingredients to Vitamix blender in order provided and blend on high for 45 seconds.  Add more or less coconut milk as needed for desired consistency.  I didn’t put any ice in this as the frozen berries give a cool icy quality, but you can add ice if you like.

Stay healthy and Enjoy!

Ginger Green Smoothie

2013-12-30 09.59.14

I have finally gotten my hands on a Vitamix and I’m never letting go.  In the two short weeks that I have had this little beauty in our house I have used it every day.  The best part about this blender, aside from the obvious amazing ability to liquefy everything it comes in contact with, is the fact that my husband loves it too.  Eating healthy has never been so easy and delicious.  I have had the Vitamix for about 2 weeks now and have used it at least once a day since then.  Every morning involves a smoothie, I make my own almond milk to put in my coffee, I make dessert, sauces, and of course a spectacular soup.  I am still getting used to the power and temperament of the blender, so my recipes will take a little time to perfect for public use.

I do have to say I was not a true believer in the Vitamix until I actually put it to use.  I thought our old blender was great, it blended things and if I left it running long enough the contents would be smooth.  Apparently I didn’t know what smooth was, because the vitamix makes everything so smooth it actually becomes creamy.  Okay, enough bragging about my new toy, lets get to the smoothie of the day.

Today I made a green smoothie with a small chunk of fresh ginger to give it a nice little spice/kick.  I am of course not reinventing the wheel here, a smoothie is a smoothie.  Green smoothies are all the rage as they are said to break up greens such as spinach and kale into small enough pieces to digest all the nutrients.  Something about breaking up your food into liquid form has made me really look more closely at what I am buying as well.  If I am releasing hidden nutrients, I am probably releasing hidden chemicals as well.  So not only have I jumped on the Vitamix wagon, I am looking around inside the organic wagon as well.  I have chosen for a long time to believe that if I wash my fruit/veggies well enough that it’s totally fine, but in reality those chemicals are likely penetrating into every bite.  So I have started to switch to organic greens and slowly switching out my fleshy fruits/veggies as well.

2013-12-30 09.06.56Ingredients:

1 Clementine, peeled
1/2 Red Delicious Apple (seeds and all)
1 handful of Kale
5-6 frozen Strawberries
1 Tbsp Chia Seeds
1/2 inch piece of Fresh Ginger
1/2 cup of water

Directions:

1. Add all the ingredients to the blender in the order listed above and blend on high for 45 seconds.  Add more water or ice as needed for consistency desires.

Enjoy and stay healthy!