Healthy Date Nut Cookies

Healthy Date Nut Cookies

2015-02-08 10.20.07

I got this recipe from my sister when we were visiting a few months ago.  I believe she found the recipe on http://www.damndelicious.com.  She kept raving about how wonderful and easy these little cookies are to make, and she boasted that her 3 year old and 18 month old love them as well.  They are dairy free, gluten free, everything free so I was suspicious that they would be lumpy, dry, and tasteless.  They ended up being totally delicious and a true guilt free substitute for sugary, buttery, flour filled treats.  I have been playing around with mine adding various dried fruits, oatmeal, and seeds to make more of a granola bar as well, which is fabulous.  The recipe makes 8-12 cookies depending on size, so I usually double them as they get eaten very quickly.

2015-02-07 09.11.19

Ingredients:

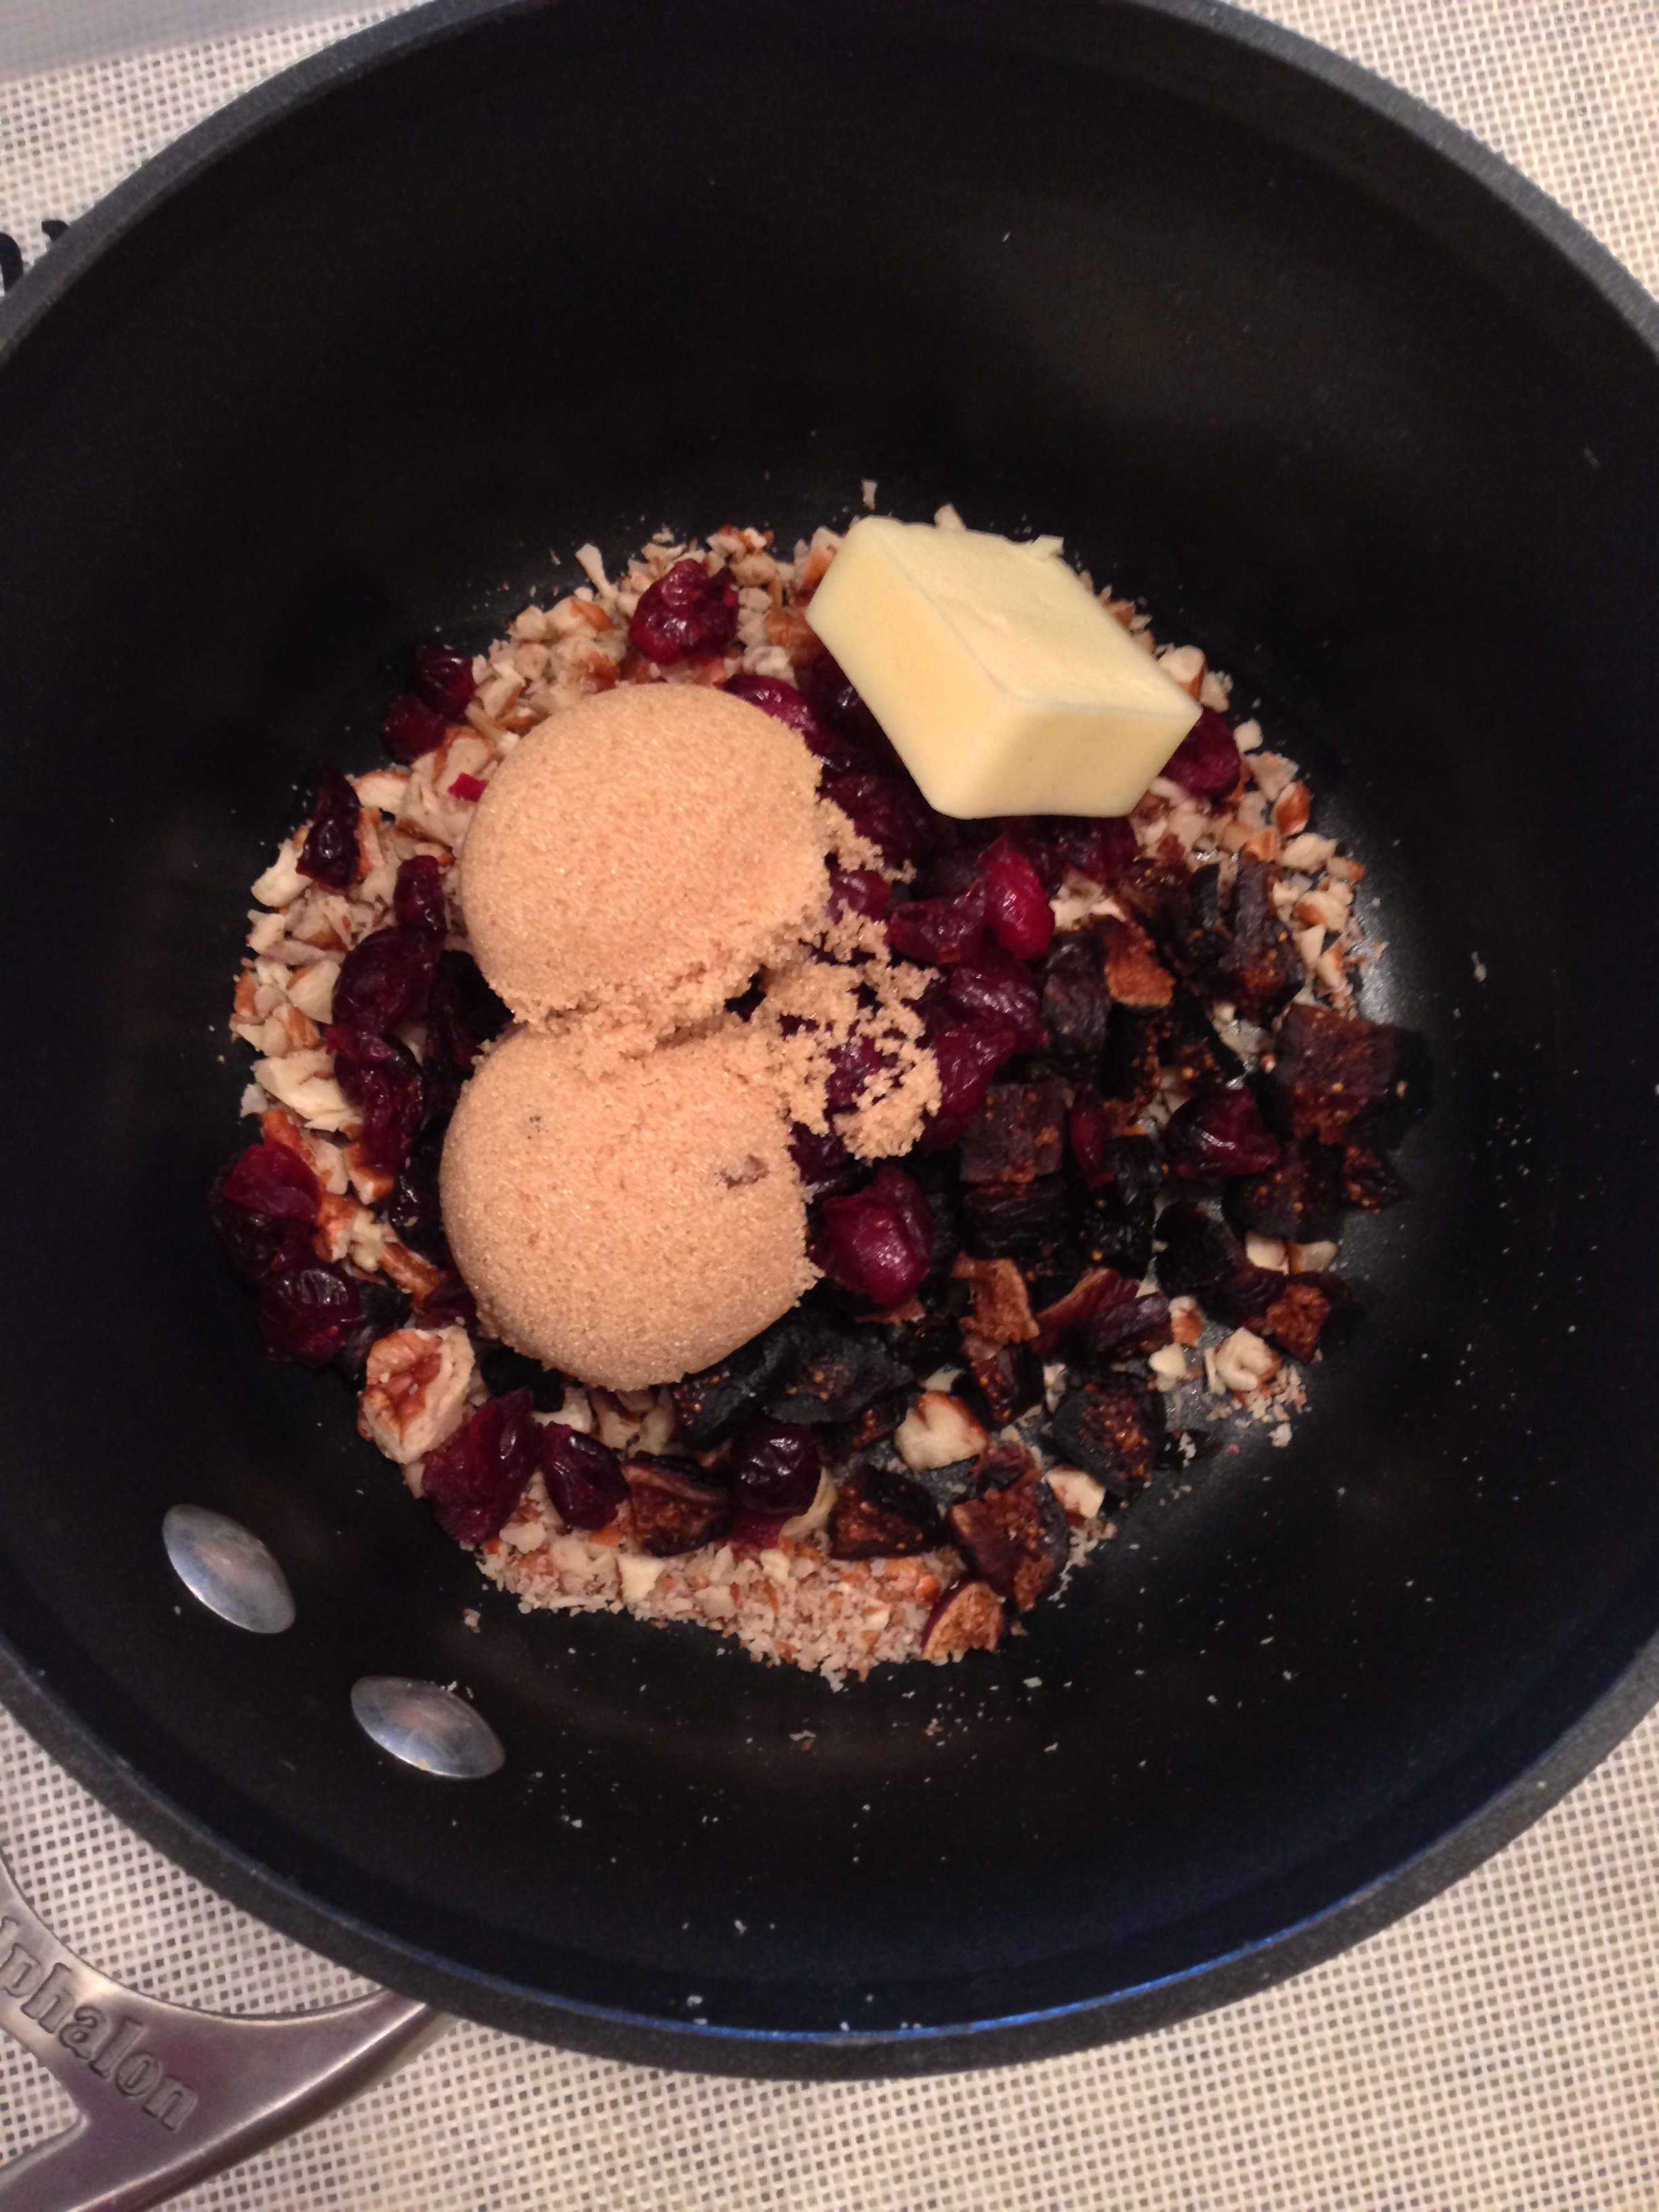
-1 cups of pitted Medjool dates (11-12)
-1 1/2 cups of raw walnut halves
-1/2 tsp baking soda
-1/4 tsp salt
-1 tsp vanilla extract
-1 flax egg (1 Tbsp ground flax or chia seeds mixed with 3 Tbsp of water)
-Optional additions:
-1/3-1/2 cup of dark chocolate chips
-1/4 cup dried cranberries, cherries, or blueberries
-1/3 cup of old fashioned oats

Directions:

1. Preheat oven to 350F and prepare baking sheet by lining with wax paper.
2. Use food processor with “S” blade to process dates and walnuts until crumbled and mixed.

2015-02-07 09.19.59
3. Add salt, baking soda, vanilla, and flax egg using the pulse feature to not over process (I like the cookies a little chunky, but if you want a smoother consistency feel free to pulse longer).
4. Stir in any optional ingredients that are desired.

2015-02-07 09.37.23
5. Wet your hands and flatten out cookies to place on lined baking sheet (they won’t expand so they can be placed pretty close).

2015-02-07 09.34.012015-02-07 10.06.53

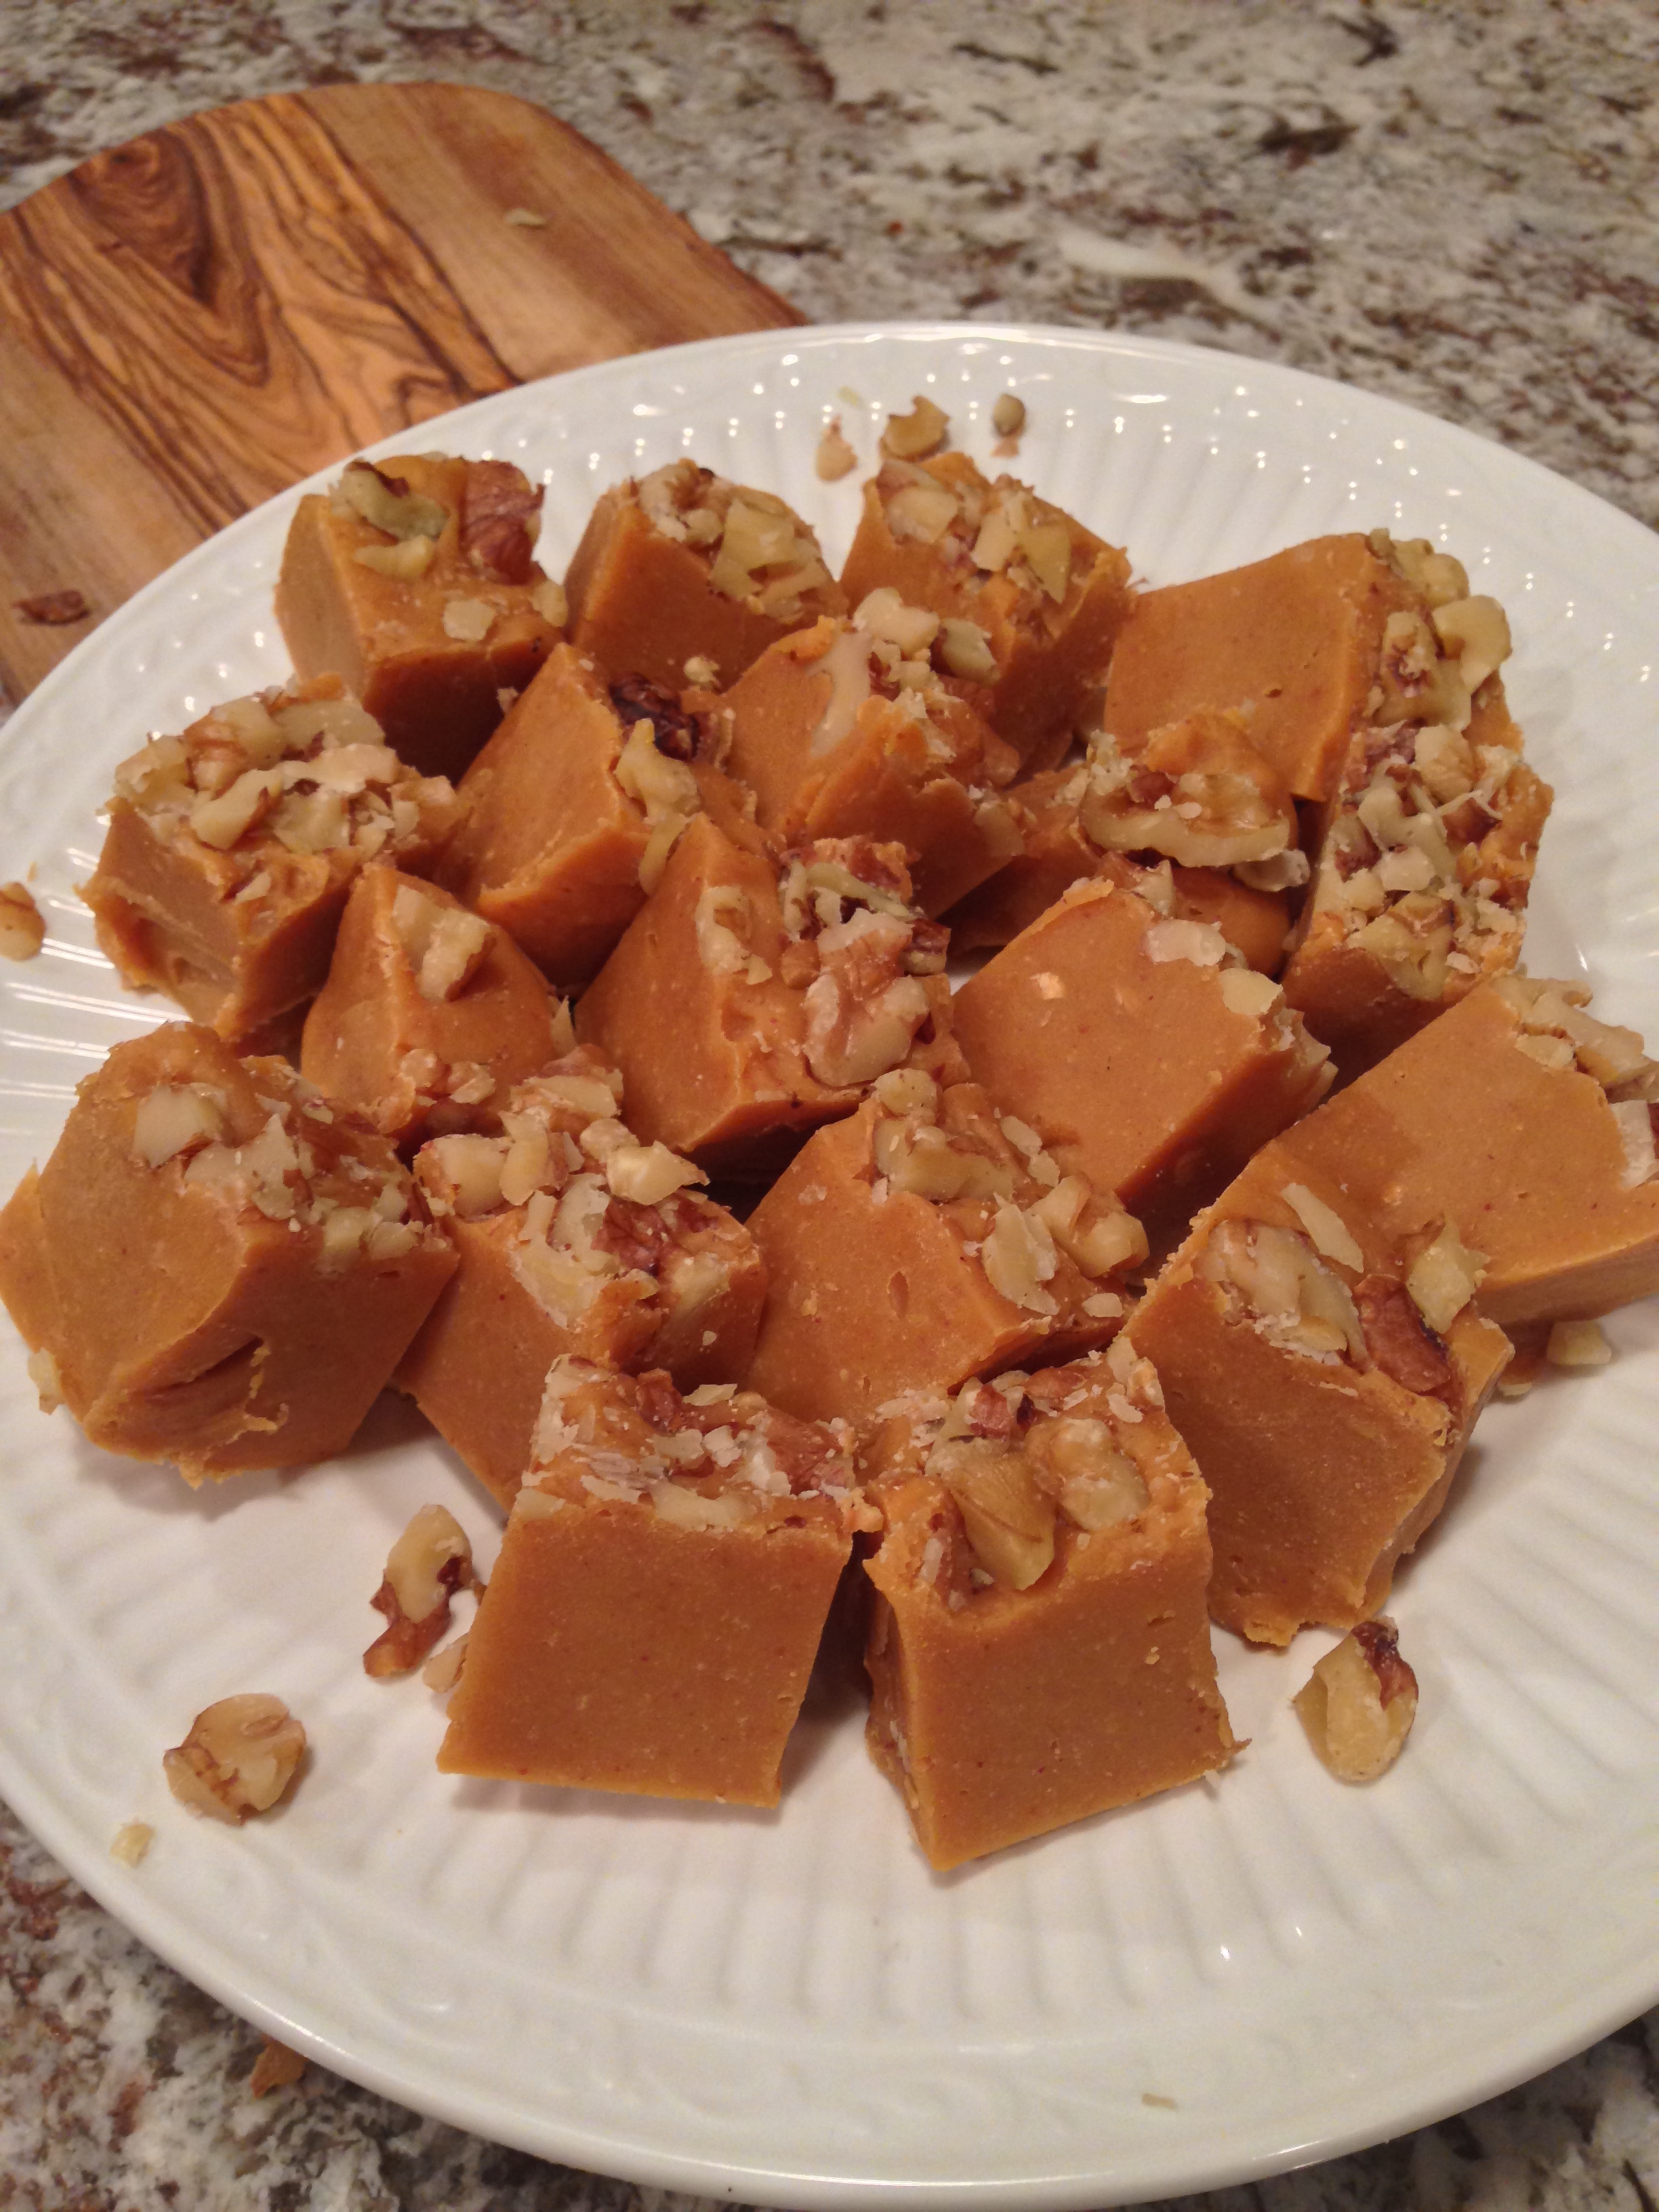
Plain followed by Chocolate and Cherry .

6. Bake for 12-14 minutes, until slightly golden brown, allow to cool on pan before transferring to a wire rack.

Serve warm or store in the fridge for up to a week.

Enjoy!

Butterscotch Peanut Butter Fudge

Butterscotch Peanut Butter Fudge

2014-12-07 16.40.57

The holiday season is full of sweet treats, cookies, cakes, candies, and of course, fudge.  A small piece goes a long way when it comes to fudge, and this butterscotch version is no exception.  Butter is in the title, twice, so you know it’s good. The other great thing about fudge is that it is incredibly easy to make.  This is a recipe that my mother has been making for as long as I can remember.  I pressed chopped walnuts on top, but you can make them nut free, or mix the nuts into the fudge if you like.  I promise you will not be disappointed as this creamy fudge melts in your mouth.  I made this over the stove top, but you can zap the ingredients in the microwave for an even faster process if you .

2014-12-07 10.04.10

Ingredients:

1-12oz bag of butterscotch chips
1/2 cup of peanut butter
1-14oz can of sweetened condensed milk
1 tsp vanilla extract
1/4 cup of chopped walnuts

Directions:

1. Pour chips into a glass bowl and place over a pot of boiling water to melt the chips.  This will allow the ingredients to melt without risking being burnt in the bottom of a pain that is on direct heat.

2014-12-07 10.05.23

2. When chips are melted and thick, add the rest of the ingredients (except walnuts if planning to press into the top) and mix well until smooth and melted.  The mixture will be very thick, do not overheat.

2014-12-07 10.30.53

3. Pour into a 8×8 or 6×8 glass or metal dish.  If adding walnuts to the top, pour on top and press down into fudge to secure.

2014-12-07 10.33.18

4. Place in refrigerator for at least 12 hours to cool and set before cutting.  Keep in refrigerator for 1-2 weeks.

Healthy Pumpkin Pie Smoothie

2014-09-08 19.52.53

When it comes to exclusively fall foods, pumpkin is one that certainly comes to mind.  No other time of year do I want to ingest a Jack-o-lantern, let alone crave it.  There is something so indulgent but at the same time healthy.  Pumpkin is a type of squash full of vitamins (A,B,C, and K) and minerals.  The flavor is distinct but it is easily used in seasonal drinks, desserts, and now healthy smoothies.  I feel like I’m playing a trick on my body with this treat because it tastes so good but is really good for me.

I used my Vitamix blender to get the rich and velvety quality of the smoothie, in just 45 seconds of blend time you have guest pleasing dessert…or breakfast if you desire.

Ingredients:

-1/2 cup of pumpkin puree (not pie filling)
-1/2 cup of almond milk or coconut milk (I mixed the two 50/50)
-1 frozen banana
-1/4 tsp cinnamon powder
-1/4 heaping tsp of pumpkin pie spice
-1/2 Tbsp of vanilla extract
-1 Tbsp maple syrup (I used a grade B syrup with rich flavor, you can use agave or brown sugar here too)
-1 Tbsp chia seeds (optional)

Directions:

Place all ingredients into the Vitamix blender and slowly increase speed to high, blend for 45 seconds.  Add more milk if needed for consistency.

2014-09-08 19.53.44

Note:

-If you don’t have your banana frozen, put it in fresh and add a small handful of ice, you may need more milk when doing this.

-To make this more of a breakfast treat, try adding 1/4 cup of rolled oats or sprinkle with flax seed.

-Top with whipped cream and a sprinkle of nutmeg if serving for dessert.

Champagne Cupcakes

2014-02-07 11.52.25

My very good friend asked me to make a mini-baked good for her bridal shower dessert table this past weekend.  Trying to think of what to make for a lunchtime bridal shower was a little tricky, since baking is not my strong suit.  My first thought was cake ball pops, they are so darned cute and always a hit at parties.  Upon further thought I decided they would be a bit too time consuming and probably wouldn’t look as I imagine them being.  Instead, I started looking for a cupcake recipe that involved champagne.  When I get together with this group of girlfriends we drink almost exclusively champagne, so why not eat it too?  I found a recipe on the food network website for champagne cupcakes and a separate recipe for champagne buttercream frosting…perfect!  When it comes to baking I know better than to make my own adjustments.  Especially when baking for a crowd, who cares about fat and calories.  For the frosting I did add some almond extract to give it a little extra pizzaz.  Be prepared, this recipe makes a LOT of cupcakes.  I ended up with 50 mini-cakes and 20 large cupcakes.  If you aren’t baking for a crowd you may want to half the recipe.

2014-02-07 12.03.29

I didn’t frost the extra cupcakes so they could sit out, I’m not comfortable letting the buttercream frosting sit out for too long.  To make them presentable for a fancy bridal shower I wanted to pipe the frosting.  I found a piping set at marshalls for $5 and got a mini-cupcake pan and liners to make these mini-sized.  They turned out great and so adorable with the Lego bride and groom topper (thank you to my brother and his beautiful wife in Denmark)!  Pop some bubbly and lets get baking!

2014-02-08 13.18.46

Cupcake Ingredients: 

4 cups all-purpose flour
3 cups sugar
5 tsp baking powder
1/2 tsp baking soda
1/4 tsp salt
1 2/3 cup of milk (I used almond milk since I forgot to pickup regular milk)
1 cup shortening
1/2 cup champagne
1 Tbsp vanilla extract
8 egg whites

Buttercream Frosting Ingredients:

1 pound of unsalted butter, room temperature
6 cups of powdered sugar
4 Tbsp of champagne
1/2 tsp almond extract

Directions:

1. Preheat oven to 350 degrees F.  I made these in my KitchenAid standing mixer with the whisk attachment, otherwise you can use hand beaters to blend.

2. Add together the flour, sugar, baking powder, baking soda, and salt.  Slowly add the milk, shortening, champagne, and vanilla extract, beat on medium speed for 30-60 seconds.  Add egg whites and continue to beat for 2 minutes.

2014-02-07 10.10.39

3. Line cupcake pan and fill half full with batter.  Bake for 12-14 minutes until center is springy when touched.  Let cool on cooling rack.

4. Make your frosting while cakes are cooling.  I made this in the KitchenAid standing mixer as well with the whisk attachment.

5. Whip butter in mixer on medium/high speed until creamy.  Start to add the powdered sugar 1/2 cup at a time and mix in champagne/almond extract until you have the flavor and consistency you are looking for.  It should be smooth and creamy.  I didn’t add all 6 cups of sugar, I stopped around 5 so it wasn’t so sweet.

6. When cupcakes are cooled pipe the frosting on with the tip shape of your choosing.  I used the smaller star looking tip and piped in a circle starting at the outside working toward the center.  They look pretty fancy to me!

2014-02-07 11.54.32


Enjoy!

Goat Cheese and Apricot Tarts

2014-02-03 18.41.47

So this recipe took a few tries to get the taste I was looking for.  The first round looked pretty but was a little too dry from a thick layer of phyllo dough and not enough flavor from the cheese.  The most recent round really came together nicely and has the flavor, moisture, and crunch I was dreaming about.  These are good for a small gathering or a quick dessert for a last minute occasion.  I used sage this time, but it would also be great with Thyme as I had used the first round.

Ingredients: 

1/2 roll of Phyllo Dough
1 cup of dried Apricots, cut in half lengthwise
2 Tbsp Brown Sugar
1/3 to 1/2 cup of chopped Walnuts
3 Tbsp butter, separated.
1/2 cup Goat Cheese
2 Tbsp thinly sliced fresh sage
2 Tbsp Honey

Directions:
1. In a small sauce pan make your toppings by mixing apricots, brown sugar, chopped walnuts, and 1 Tbsp of butter.  Warm over medium heat until butter and brown sugar is melted making a glaze coating the nuts and apricots.  Remove from heat and set aside in a small bowl.

2014-02-03 17.54.20

2. In second sauce pan heat goat cheese, 1 Tbsp butter, 1 Tbsp sage, and honey over medium heat.  When cheese melts and consistency is of an alfredo sauce remove from heat, do not boil.

 2014-02-03 17.57.13     >>>    2014-02-03 18.01.04

3. Lay phyllo dough flat and cut into 3×3 inch squares or slightly larger, split into pieces that are 6-8 leafs thick.  The first time I made these I kept the original stack thickness and it was too much, half that is good.  Separate on a cookie sheet.

4. Spread the cheese mixture onto the squares then top with apricot and nut mixture.

2014-02-03 18.10.30

5. Brush edges with remaining 1 Tbsp of butter, melted.  Bake in oven at 350 for 10-15 minutes until lightly browned.

6. Garnish with remaining sage and serve warm.

2014-02-03 18.42.33

Enjoy!


Mini Nutty Brie Pockets

I’m sure I have said this before, but I’m not a sugar and sweets kind of girl.  That being said, every once in a while it just has to be done.  These little pockets are filled with fig and nutty sweetness and a hint of salt from brie melted in the middle.   I made these pockets with nuts, dried fruits, and minimal butter/sugar to add a little nutritional value.  You can swap out for different nuts, fruits, even spread to whatever you may have on hand.  I would love to make them again with apricot, honey, and walnuts!  The pockets can be made any size you would like; personally, I don’t like cutting into a big gooey wheel leaving the cheese to spill all over, so I made these mini (3 bites) size to avoid such troubles.

2014-01-19 14.16.37They turned out even better than I expected and were easy to prepare in the morning before guests arrived.  I made them up until the point of baking, then put them in the fridge until 30 minutes before I was ready to bake, serving immediately.  You could make them as far as a day in advance before baking, just be sure to keep in the fridge overnight.  This only makes 8 pockets, which was not enough for our group, you may want to double it!

Ingredients:

3 oz of double cream brie cheese
1 pre-made Pillsbury pie crust
2 Tbsp brown sugar
1/4 cup of diced figs
1/4 cup of craisins
1/3 cup of chopped pecans
1 Tbsp butter
Fig spread/jam (I prefer with seeds)
1 egg
1 Tbsp large grain sugar

Directions:

1. In a small sauce pan add chopped nuts, brown sugar, figs, craisins, and butter.  Stir well and cook on medium heat until butter is melted and figs/craisins are soft, about 5 minutes.  Remove from heat.

2014-01-19 09.19.40

2. Roll out the pie crusts to be slightly thinner than packaged and even, cut into 3×3 inch squares.

3. In the center of each square place a small piece of brie (rind intact), put a small spoon of fig spread on top of cheese, and a large spoon of the nut and fig mix on top.

2014-01-19 09.30.16

4. I didn’t take a picture of this, but bring the four corners up over the cheese pile and press together. Seal the folds by pinching as able and put on baking sheet seam side up.  They don’t have to look perfect, it’s almost better that way.

5. Scramble the egg and brush on top of all of the brie pies, sprinkle with large grain sugar lightly.

6. Bake at 350 until golden brown on top, about 20 minutes.

Enjoy!


Pumpkin Crumble

2013-10-04 16.09.16

After getting rave reviews of the apple pie, I decided to make another baked good just in time for the weekend.  Traditionally I stay away from making baked goods, because I just eat them…very quickly.  I find if I don’t make a cake, I won’t eat a cake.  However, my in-laws are coming to town this weekend and I decided it would be good excuse to make something sweet to share while they are here.  This is a recipe I found online on a blog (www.damndelicious.net) that is really healthy, delicious, and relatively easy.  Instead of making 3 small mini loaves, I made one regular size loaf and 6 muffins with a batch.

Ingredients:

– 1 cup all-purpose flour
– 3/4 cup whole wheat flour
– 1/2 cup sugar
– 1/4 cup brown sugar, packed
– 1 1/2 tsp pumpkin pie spice- 1 tsp baking soda
– 1 tsp baking powder
– 1/4 tsp salt
– 1 cup pumpkin puree
– 1/3 cup coconut oil
– 1/4 cup unsalted butter, melted
– 1/4 cup applesauce
– 2 large eggs
– 1 tsp vanilla extract

Crumb topping ingredients:

– 1 1/4 cup all-purpose flour
– 1/2 cup brown sugar, packed
– 1/4 cup sugar- 1 tsp pumpkin pie spice
– 1/2 cup unsalted butter, melted

Directions:

1. Preheat oven to 350 degrees.  Coat bread pans with a thin layer of butter, then lightly flour so the bread doesn’t stick when removing from pan.  Do the same to muffin tin unless you are using cupcake papers.

2. Make crumb topping: Combine ingredients in a medium sized bowl and set aside.

3. Make cake mix.  Combine the dry ingredients together in a large bowl: flours, sugar, brown sugar, pumpkin pie spice, baking soda, baking powder, and salt in a large bowl.

4. In a small bowl whisk together the wet ingredients: pumpkin puree, coconut oil, butter, applesauce, eggs, and vanilla.

2013-10-04 14.26.26

5. Stir together the wet and dry cake ingredients gently, take care to not over mix.

6. Fill the cake pan and muffin tins just over halfway full with cake mix.  Sprinkle generously with the crumble topping, pushing gently into the batter.

7. Bake the muffins in the oven for 30 minutes and the cake loaves for 45-60 minutes.  the center will be spongy and a toothpick inserted should come out clean.

The apple sauce and coconut oil make you feel like you are eating a healthy snack and allow the cake to stay extremely moist.  All the moisture of the cake is counterbalanced by the crumbles on top.  These can get messy, try serving with a fork and plate so you don’t lose the yummy crumbles.  This can also be a good dessert served warm with vanilla ice cream.

Enjoy!

Apple Pie

2013-03-31 16.35.06

Last year I got a recipe book that belonged to my Mimi, a very well loved Betty Crocker’s Cookbook.  When I was leafing through the book a recipe fell out for apple pie.  No regular apple pie, according to the article (a cut-out from Family Circle) it is the “Best of the Best”.  I have adopted this as my standard apple pie recipe.  Above is a picture of the first time I made the apple pie, so beautiful!

2013-09-22 17.57.54

As for the apples, I’m not exactly sure what type of apple is a good “baking apple”.  I’m very spoiled by the orchard at my parent’s house, we usually get several large bags of apples from the hundreds-thousands they pick every year.  I only know which ones to bake with after my mom separates them for me and instructs me on what to do with them.  Since I don’t have any apples from my parents yet, I went to the store and bought the cheapest apples I could find to bake with today.

 Ingredients:

– 2 1/2 pounds of apples peeled, cored, and sliced very thin.

– 1/3 C firmly packed light brown sugar

– 1/3 C granulated sugar

– 2 Tbsp flour

– 1 tsp ground cinnamon

– 1/4 tsp ground nutmeg

– 1/4 tsp salt

– 1 pkg pie crust mix

– 2 Tbsp butter

– water or milk

– sugar for sprinkling

2013-09-22 14.50.12 2013-09-22 15.45.28

Directions:

  1. Place apples in a large bowl, mix sugars, flour, cinnamon, nutmeg, and salt.  Gently toss to cover apples and let sit for 10 minutes until a juice forms.
  2. Prepare pie crust according to directions and roll into 2-12’ rounds.
  3. Pour apple mixture into pastry and dot with butter.  Moisten bottom edge of pastry with water and cover with other pastry round.  Pinch edges to seal and cut slits into top.
  4. For crispy top brush with milk or water and sprinkle lightly with sugar.
  5. Bake in oven at 425 F for 40 minutes.

2013-09-22 16.33.02So you may notice that a few of the slits on this pie are extra wide…that would be because I forgot to dot with butter and had to sneak it through the slits after it was in the oven for about 5 minutes…oops!

I have found that the pre-made pie crusts are just as good tasting as homemade, so I definitely go with store bought to save time and effort.  I have also found that it is worth it to buy the name brand, such as Pillsbury.  It seems to get a nicer golden hue when baked compared to the generic brands.  I used a generic today completely on accident, note the lack of awesome hue in the crust compared to the first image of this blog.